
Eyeliner: How to Draw the Perfect Line for Every Eye Shape
Eye makeup with eyeliner is far from a minor accessory. It is the tool that turns a tired look into a captivating one, corrects an eye shape and gives an intensity that mascara alone can't achieve.
Why is eyeliner so divisive?
Let's be honest: eyeliner is a bit like riding a motorbike. Either you have mastered it and it's brilliant, or you slip up and it shows. The problem is that people often try to copy techniques seen on Instagram without adapting them to their own eye shape. A line that flatters an almond eye can completely overwhelm a small, round eye.
This is where the choice of texture comes in. Between the felt-tip pen (precise but less flexible), the liquid (high coverage but it takes a steady hand), the gel (easy to blend) and even the pencil turned into a liner, each formula has its advantages depending on the result you want. Our selection covers all of these, including the innovations from Lancôme, because there is no single miracle eyeliner.
The secret is to start from the idea that you are not just drawing a line, you are defining the eye. And that can be learned, tested and personalised.
Our Eye Liner Products
17 products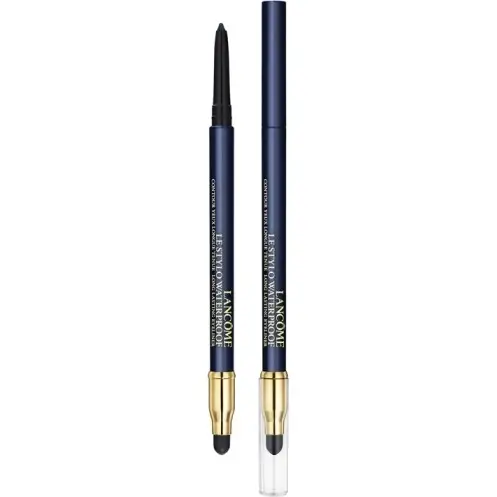
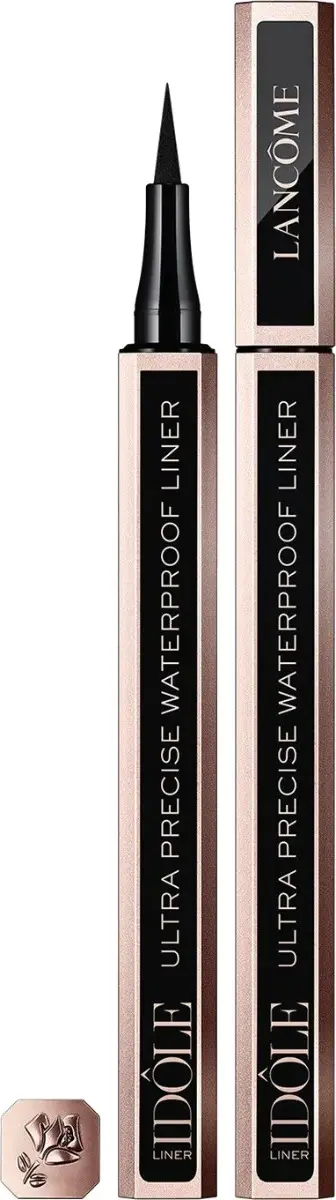
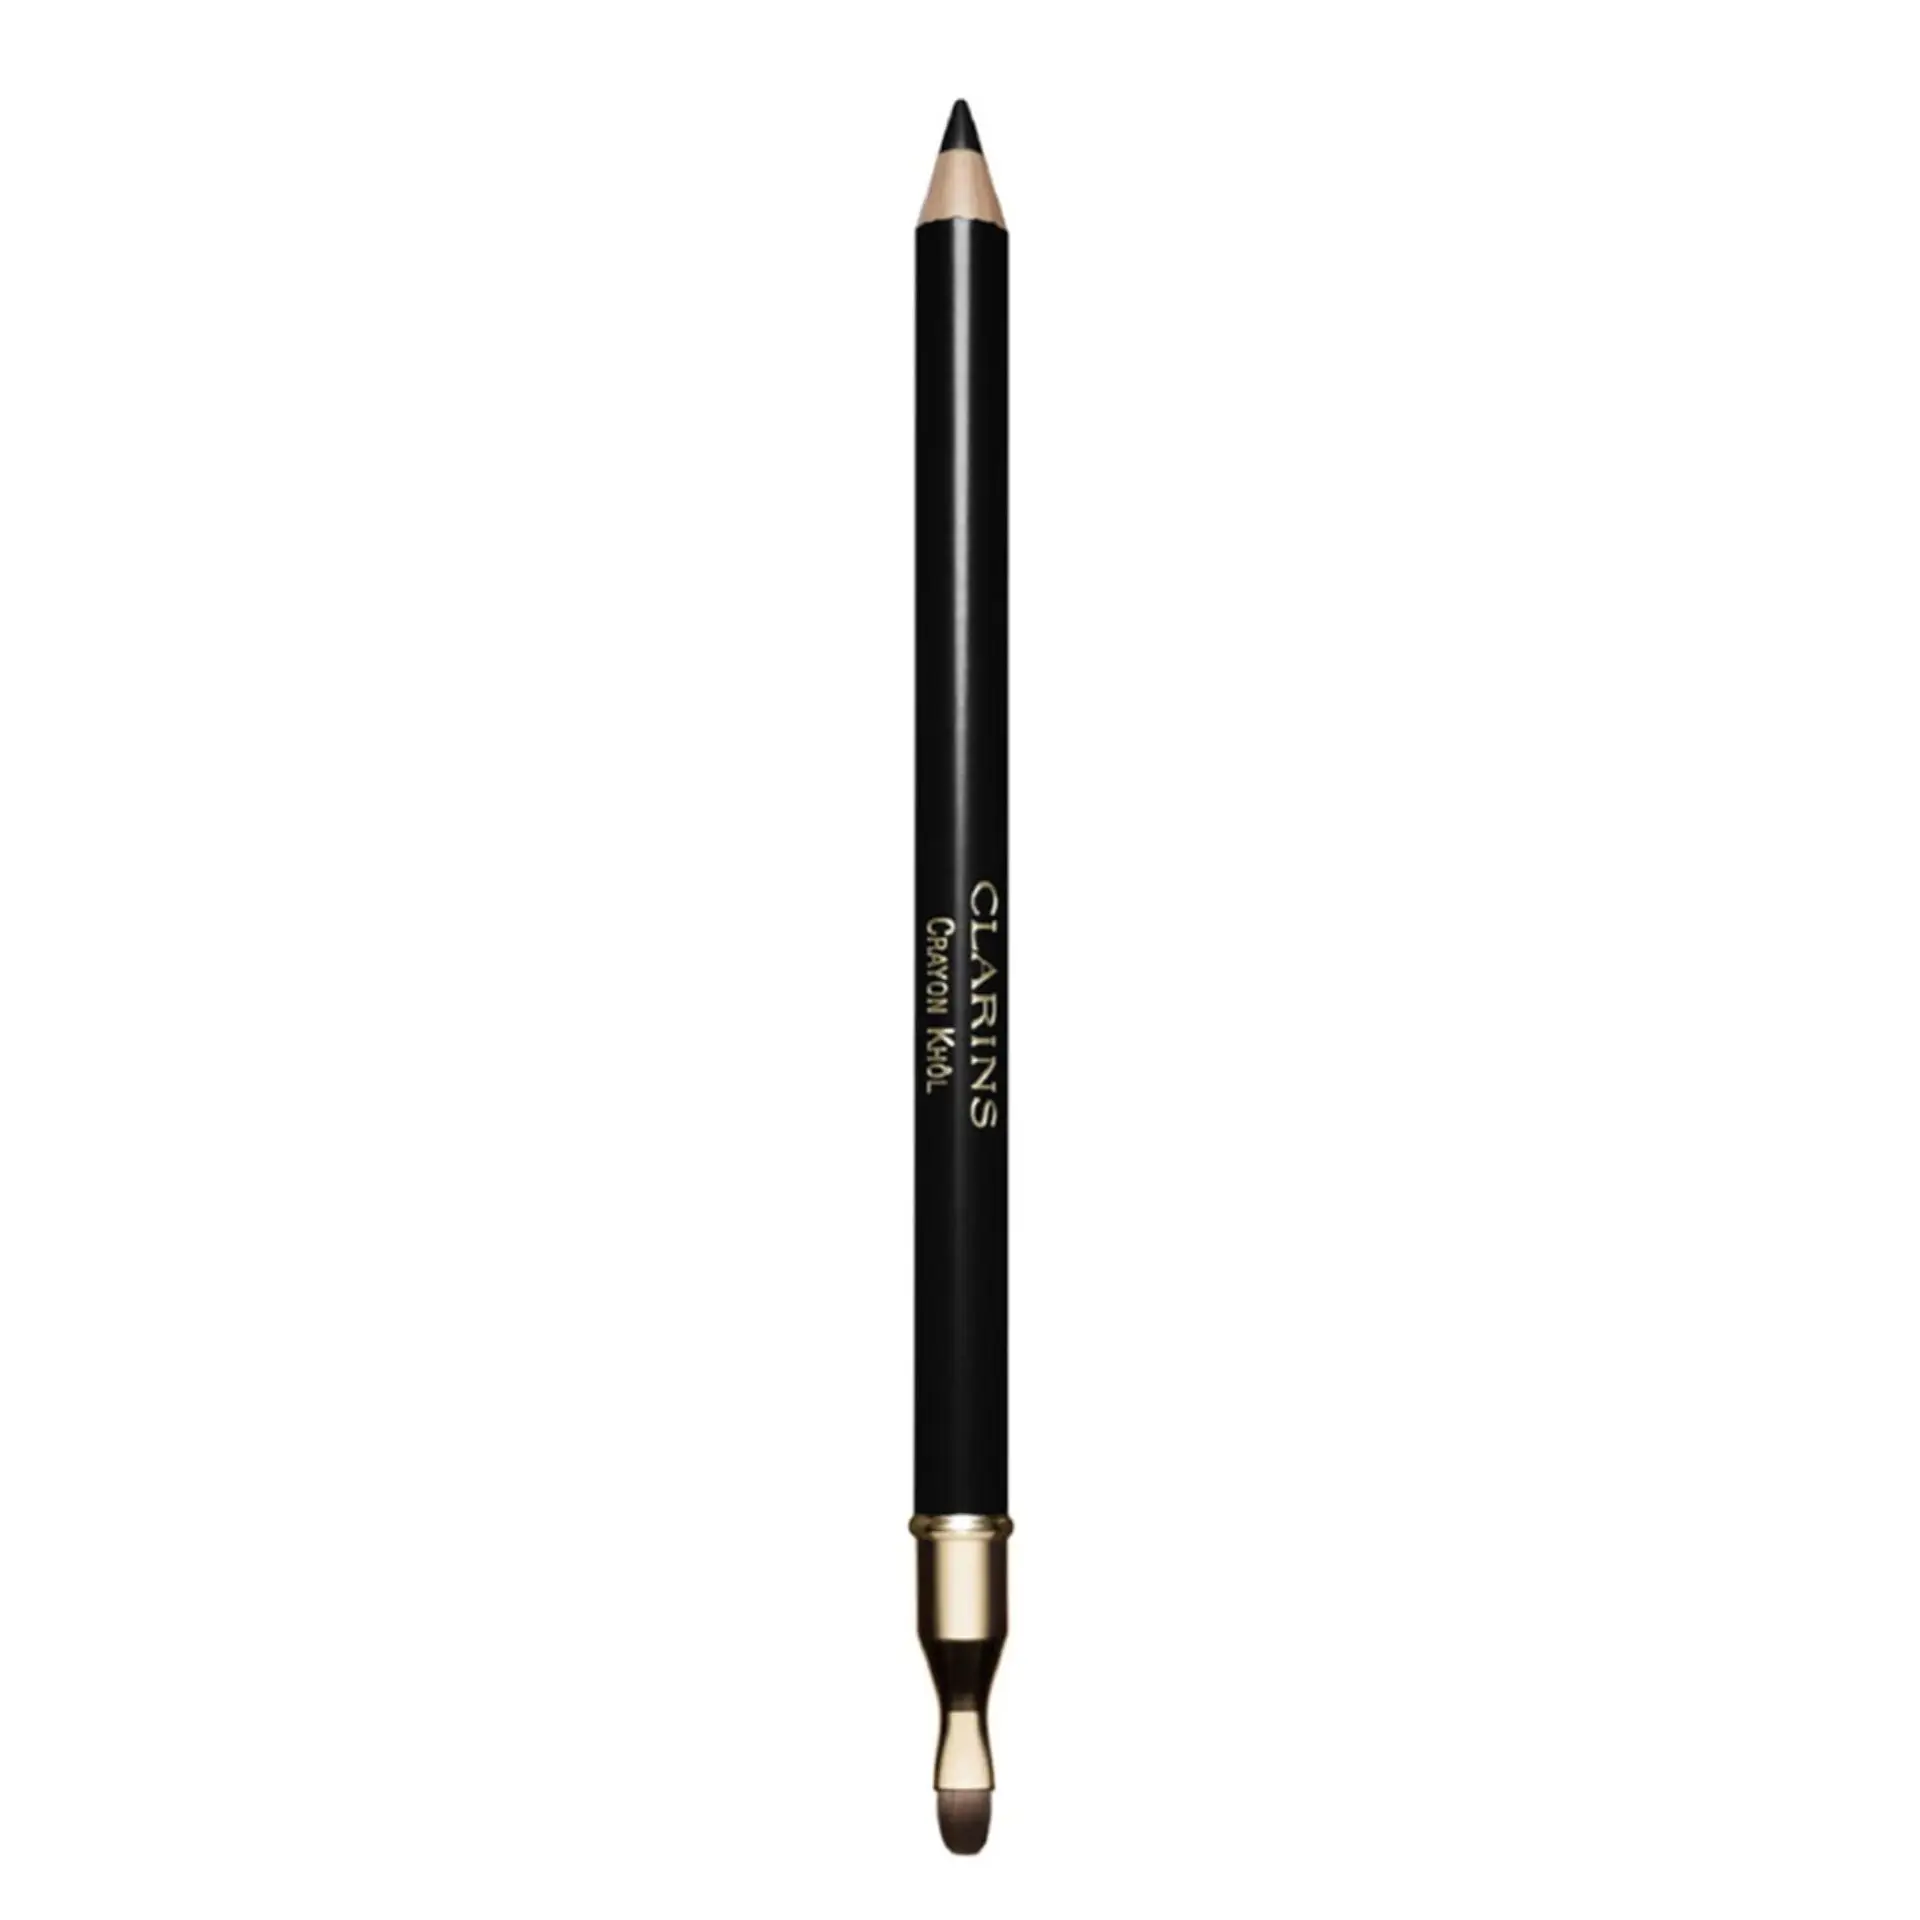
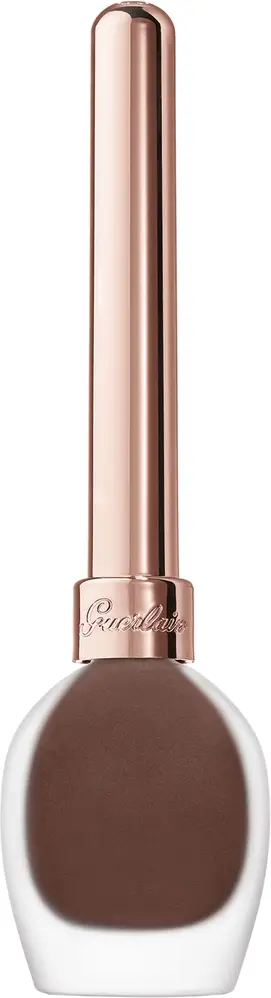
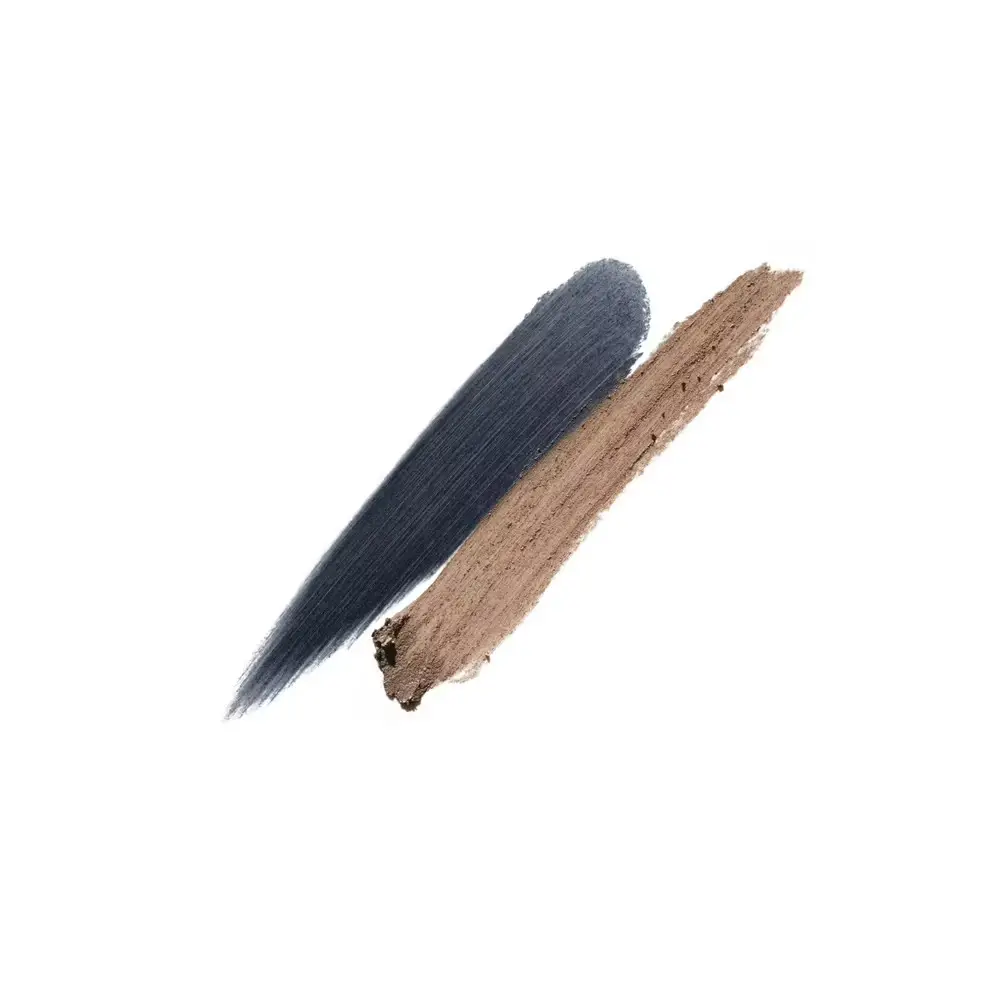
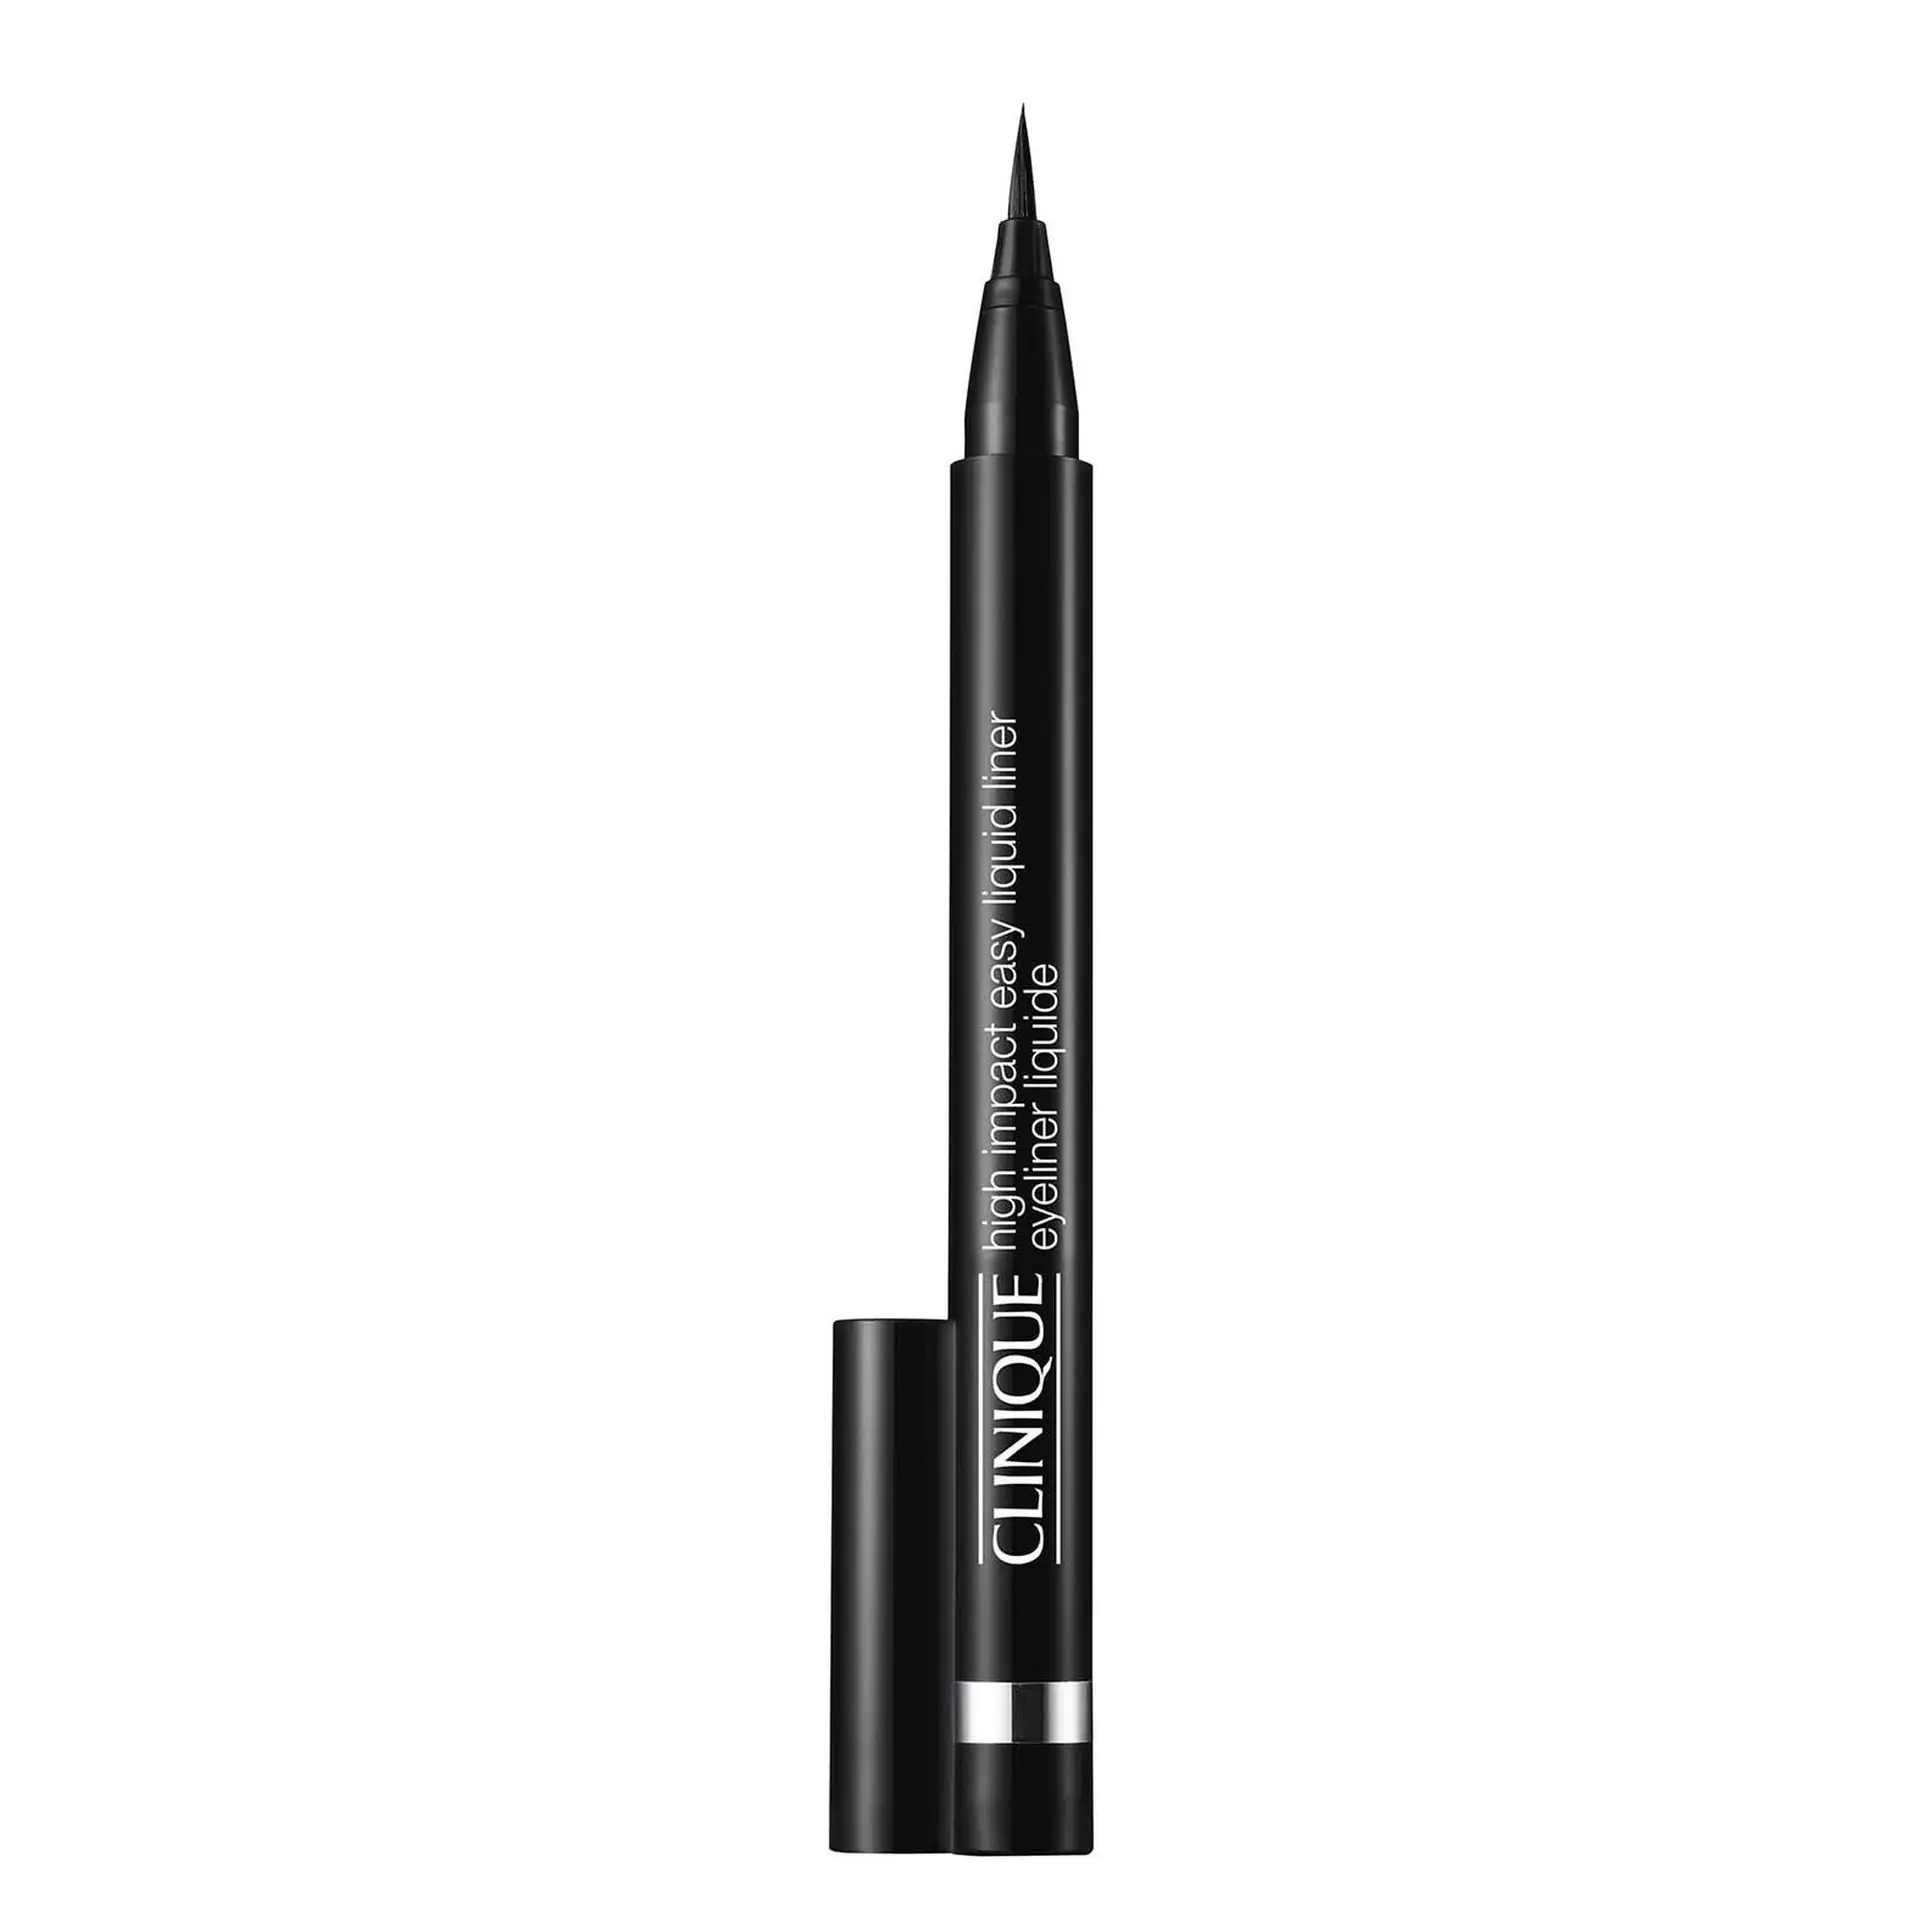
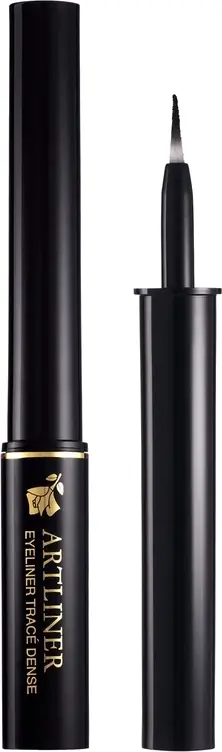

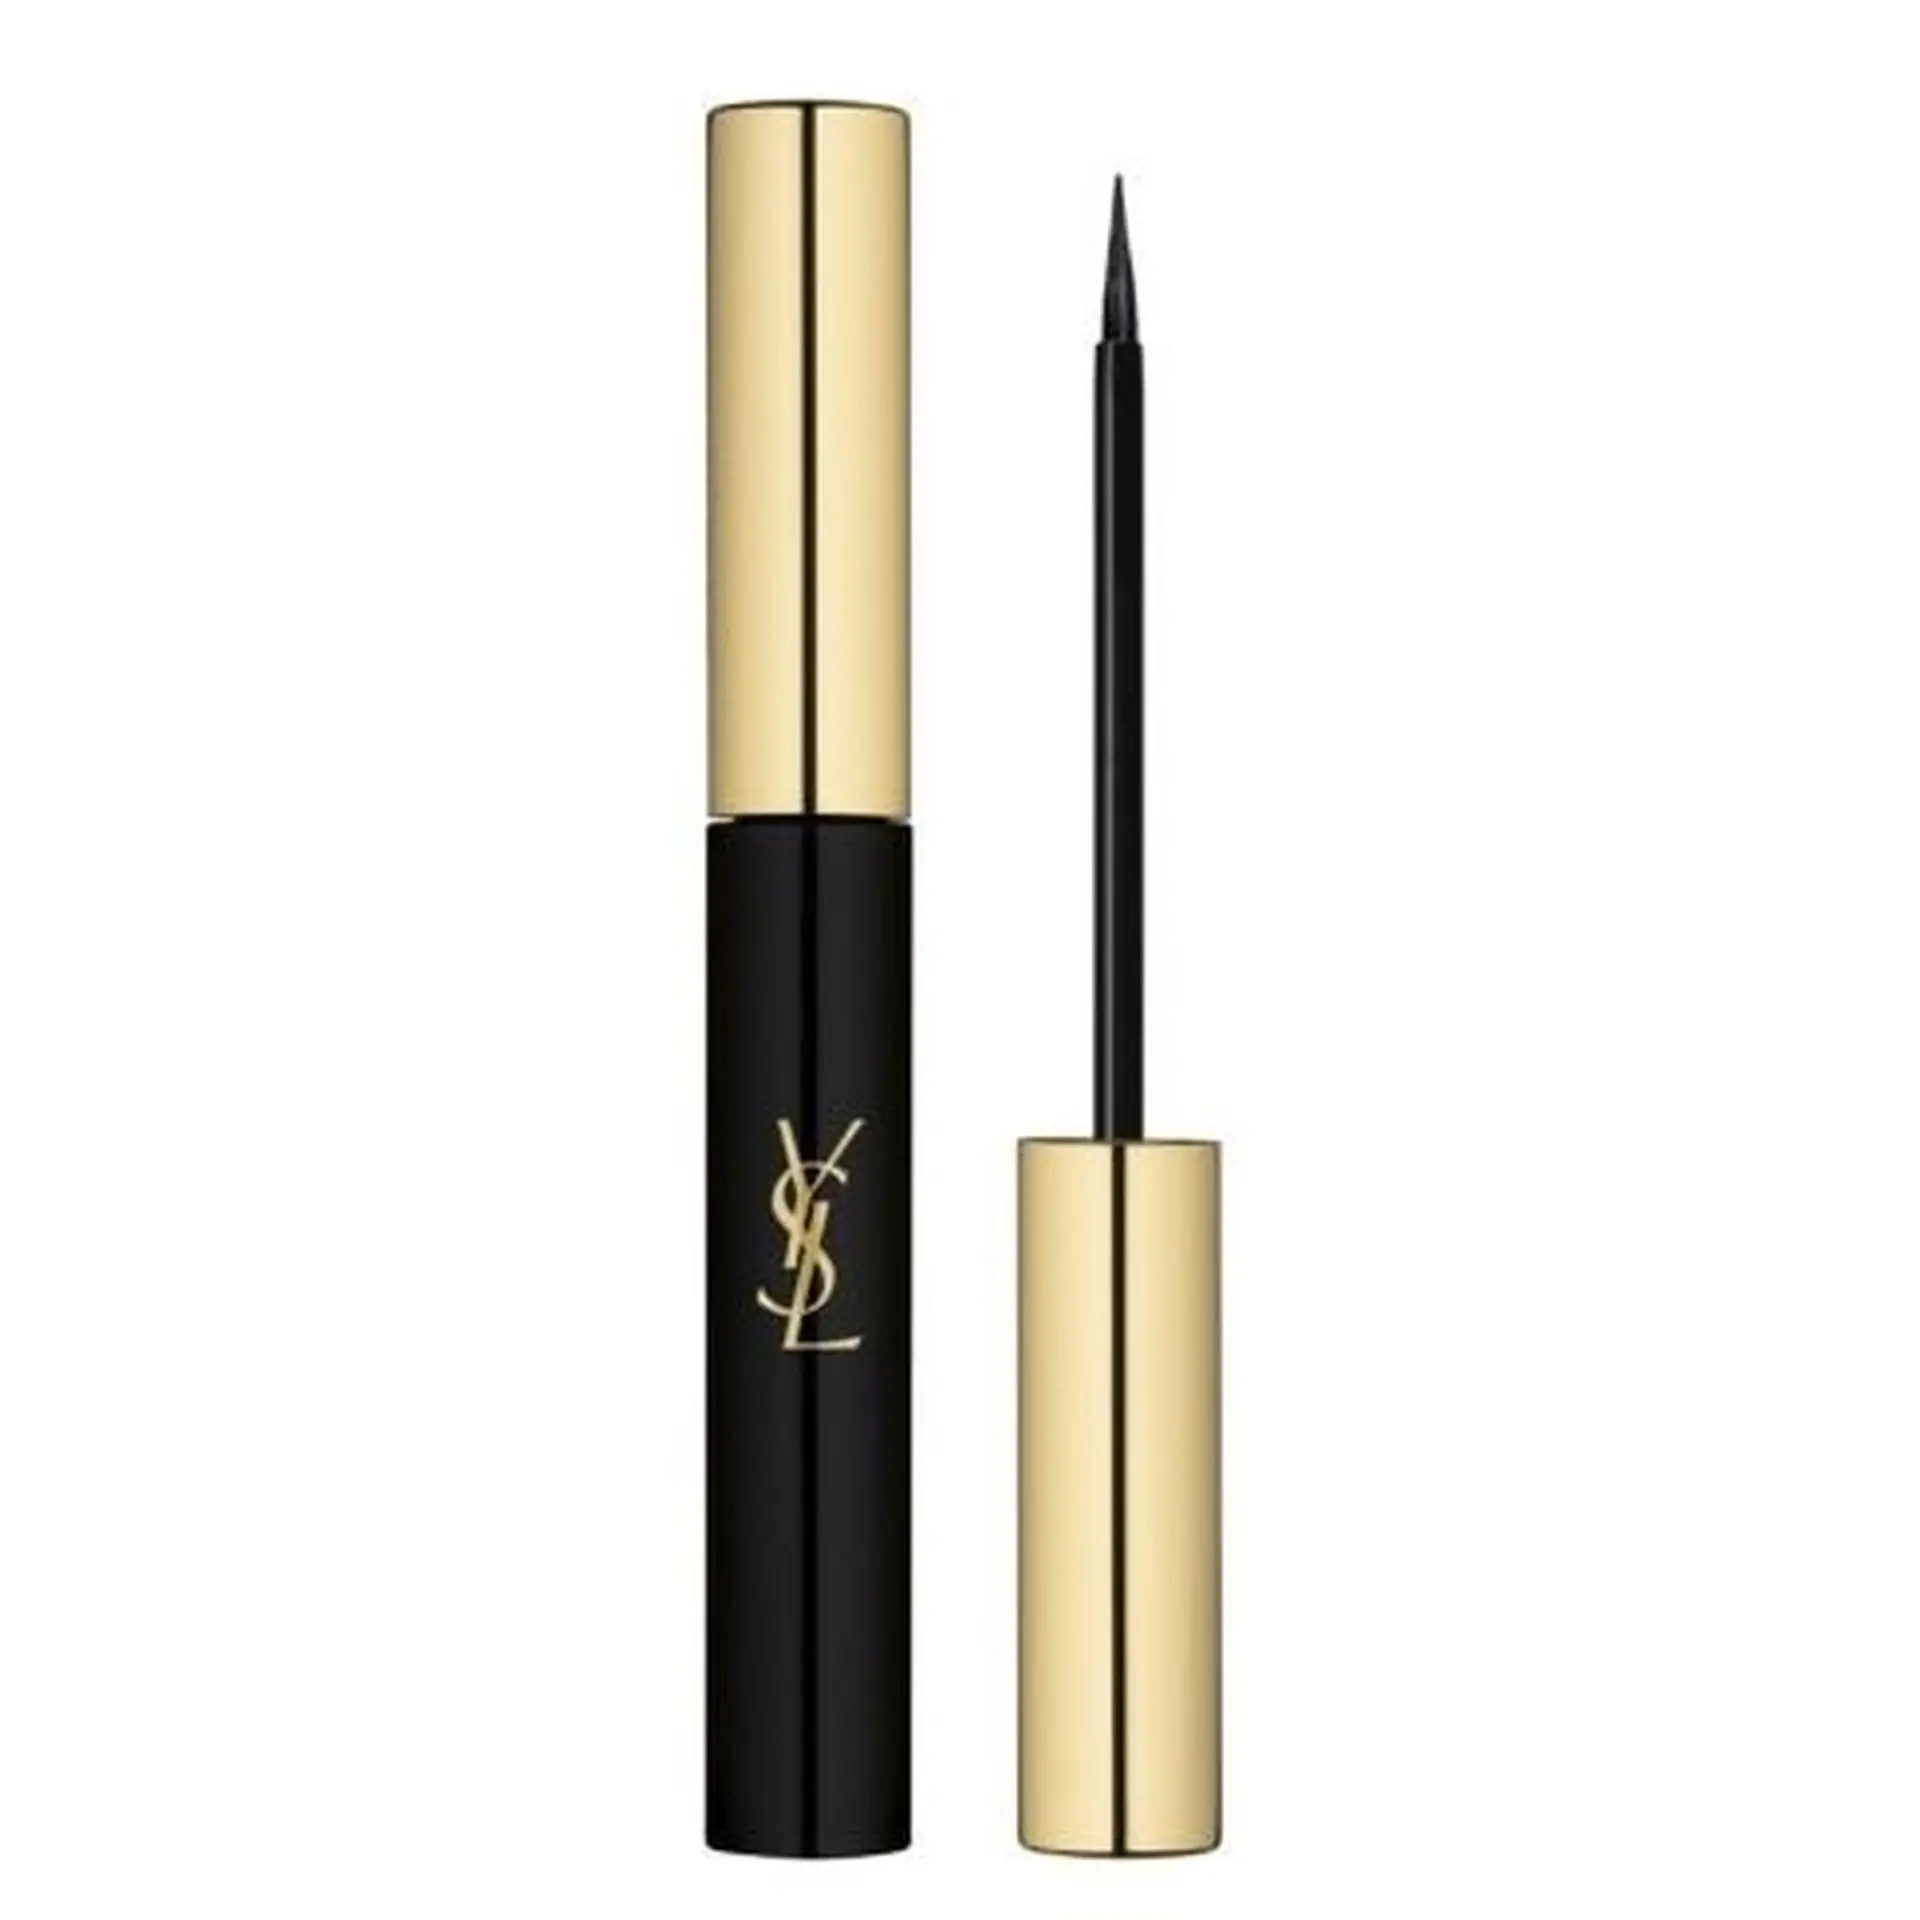
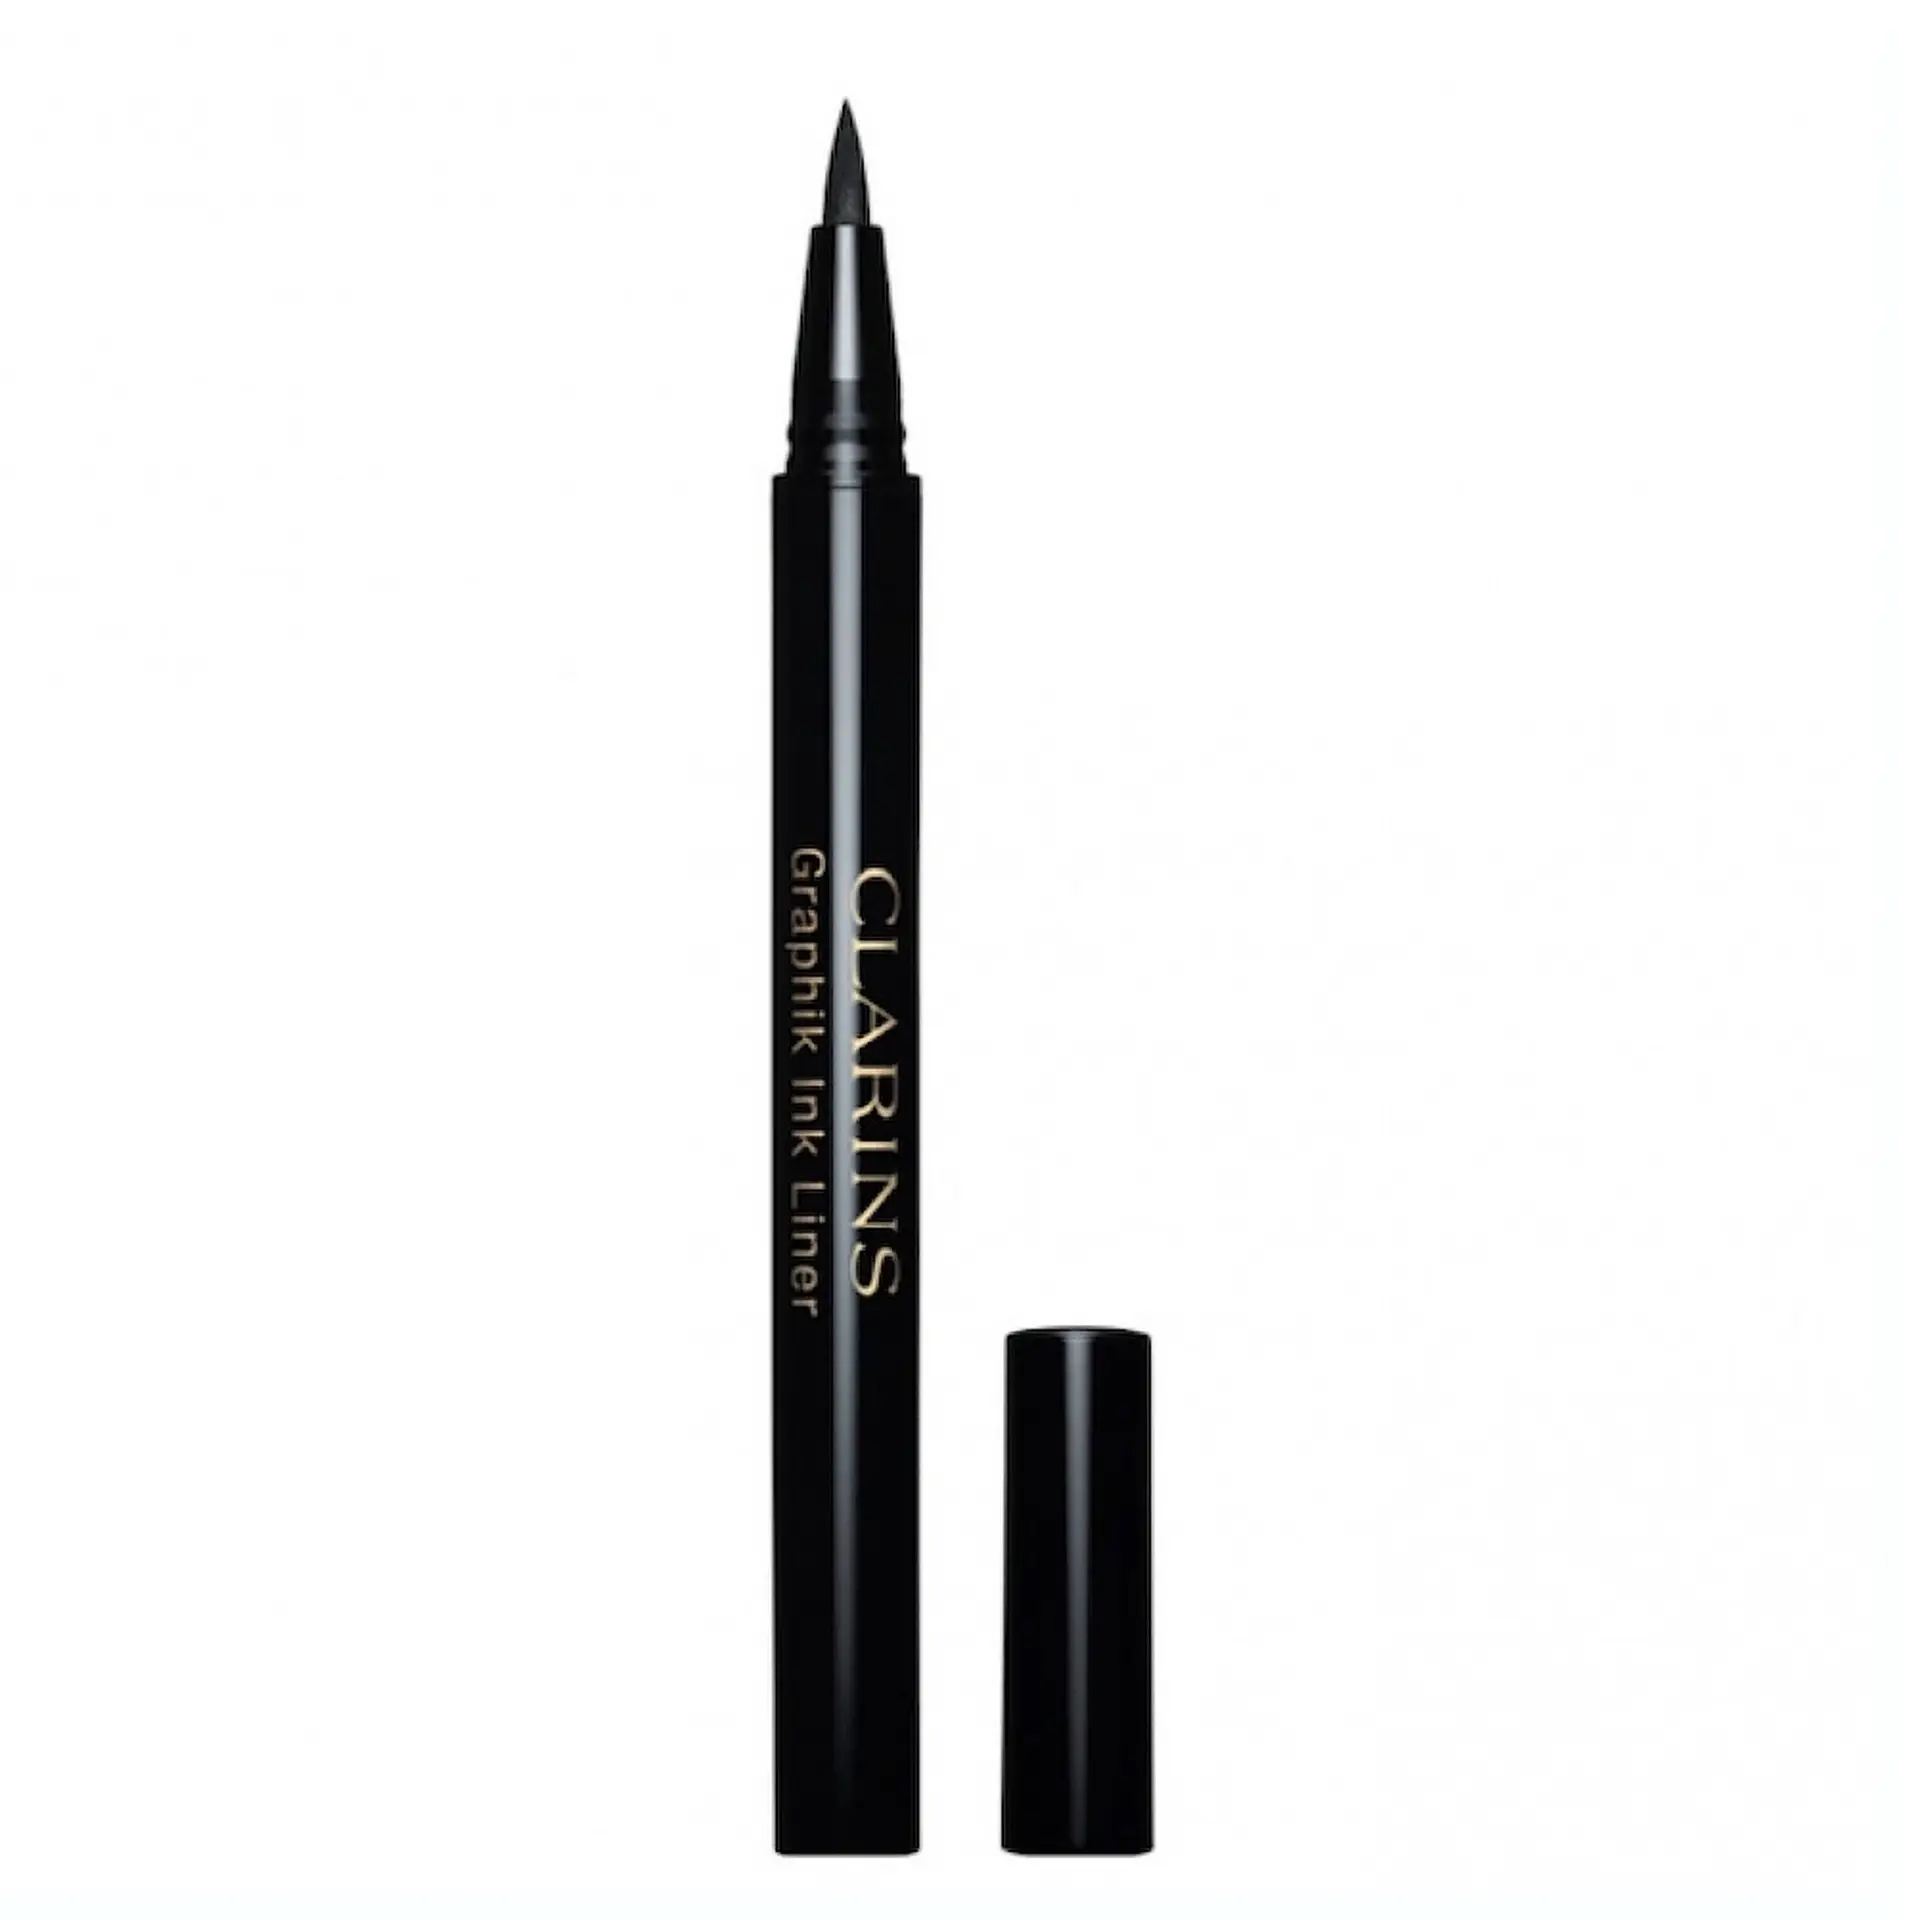
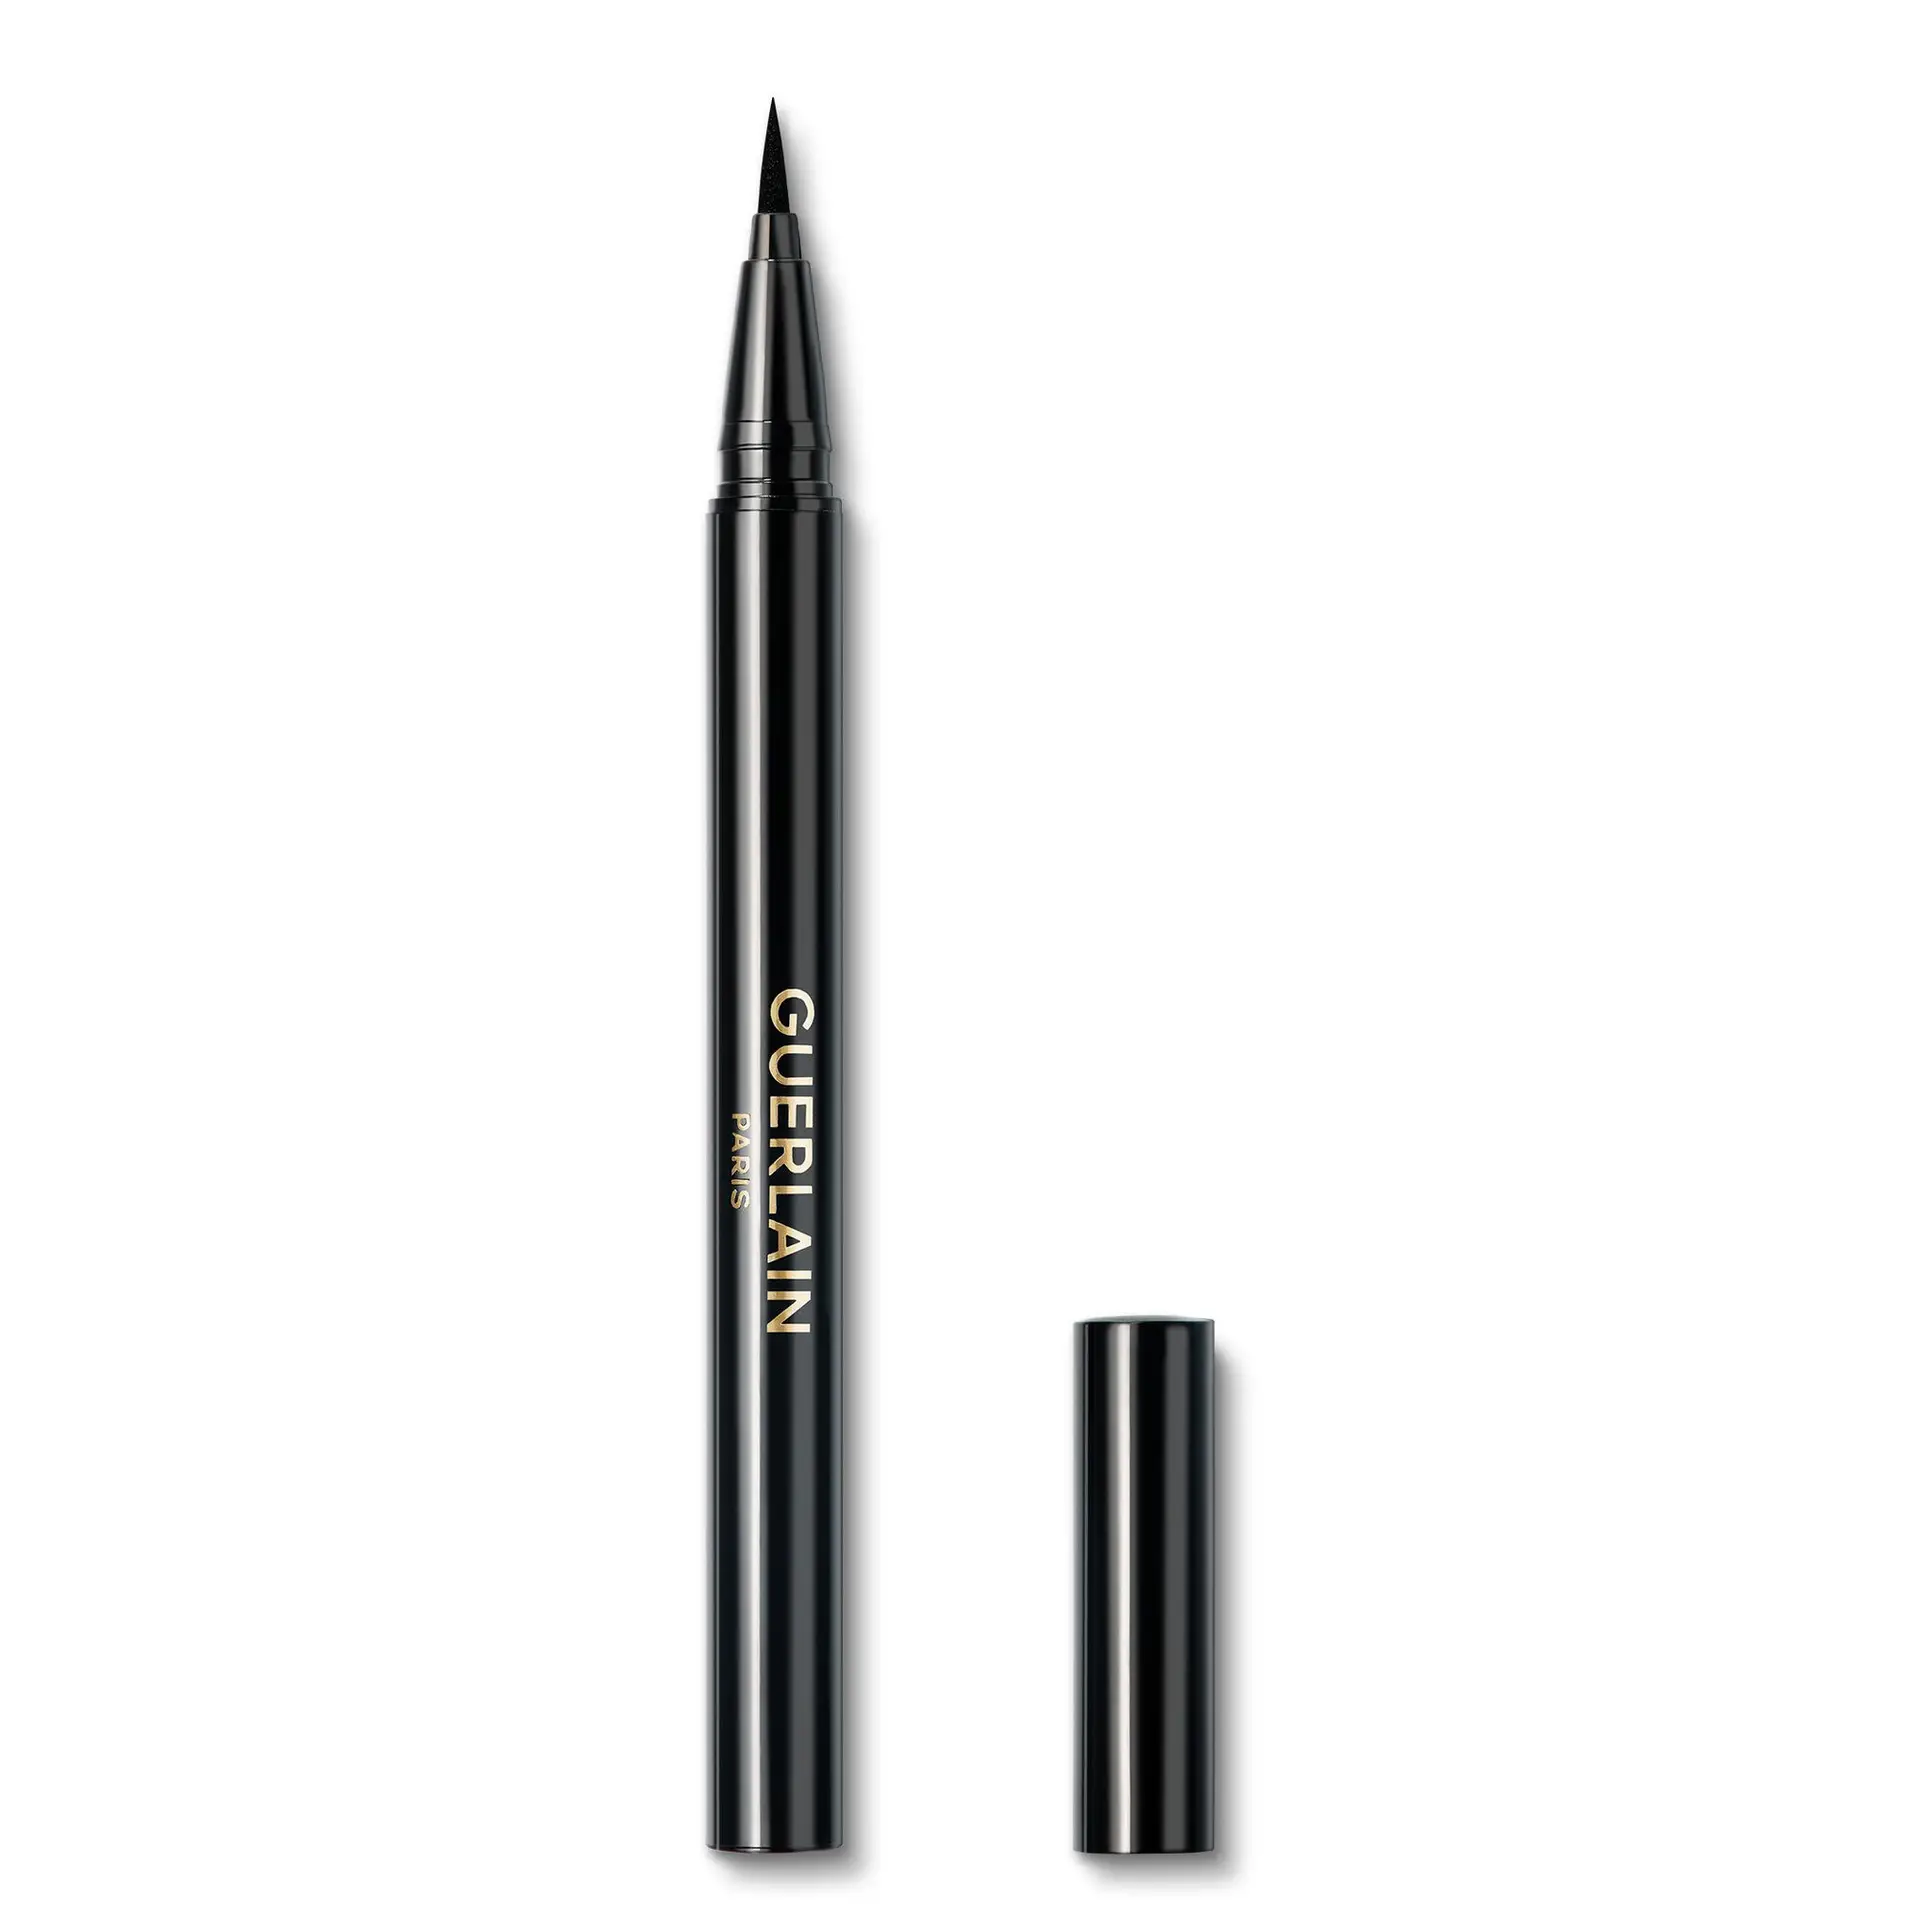
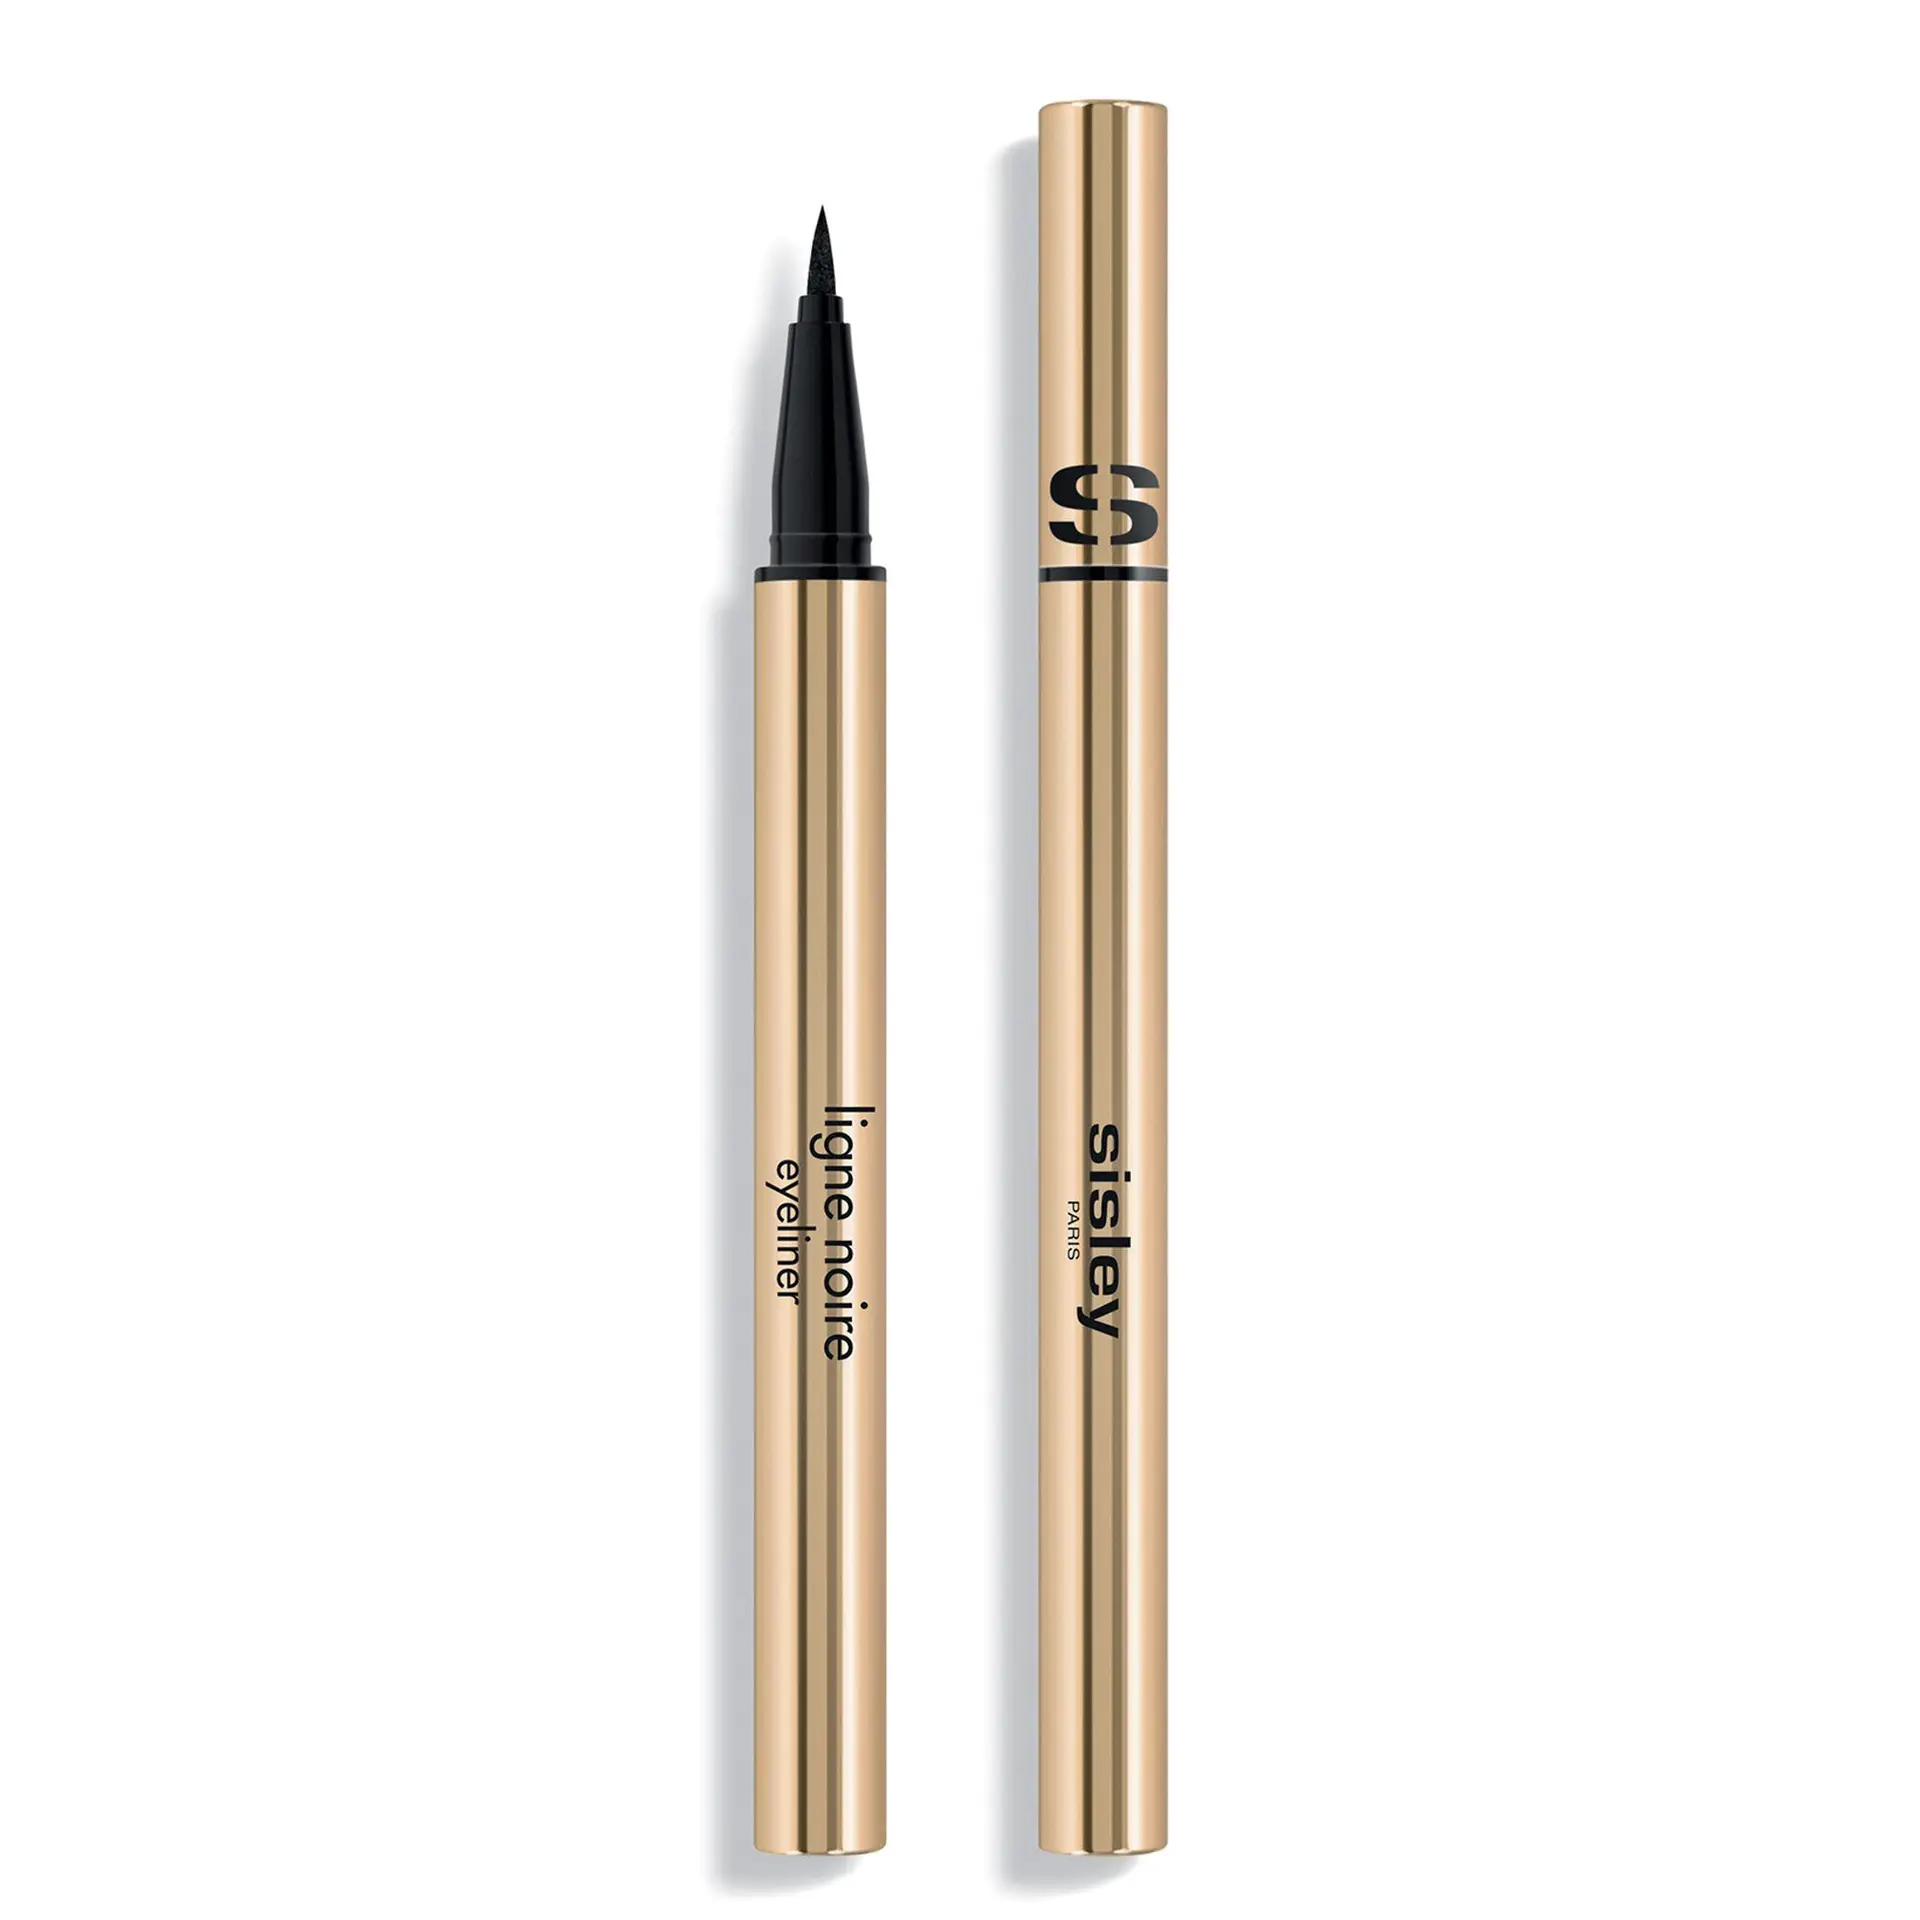

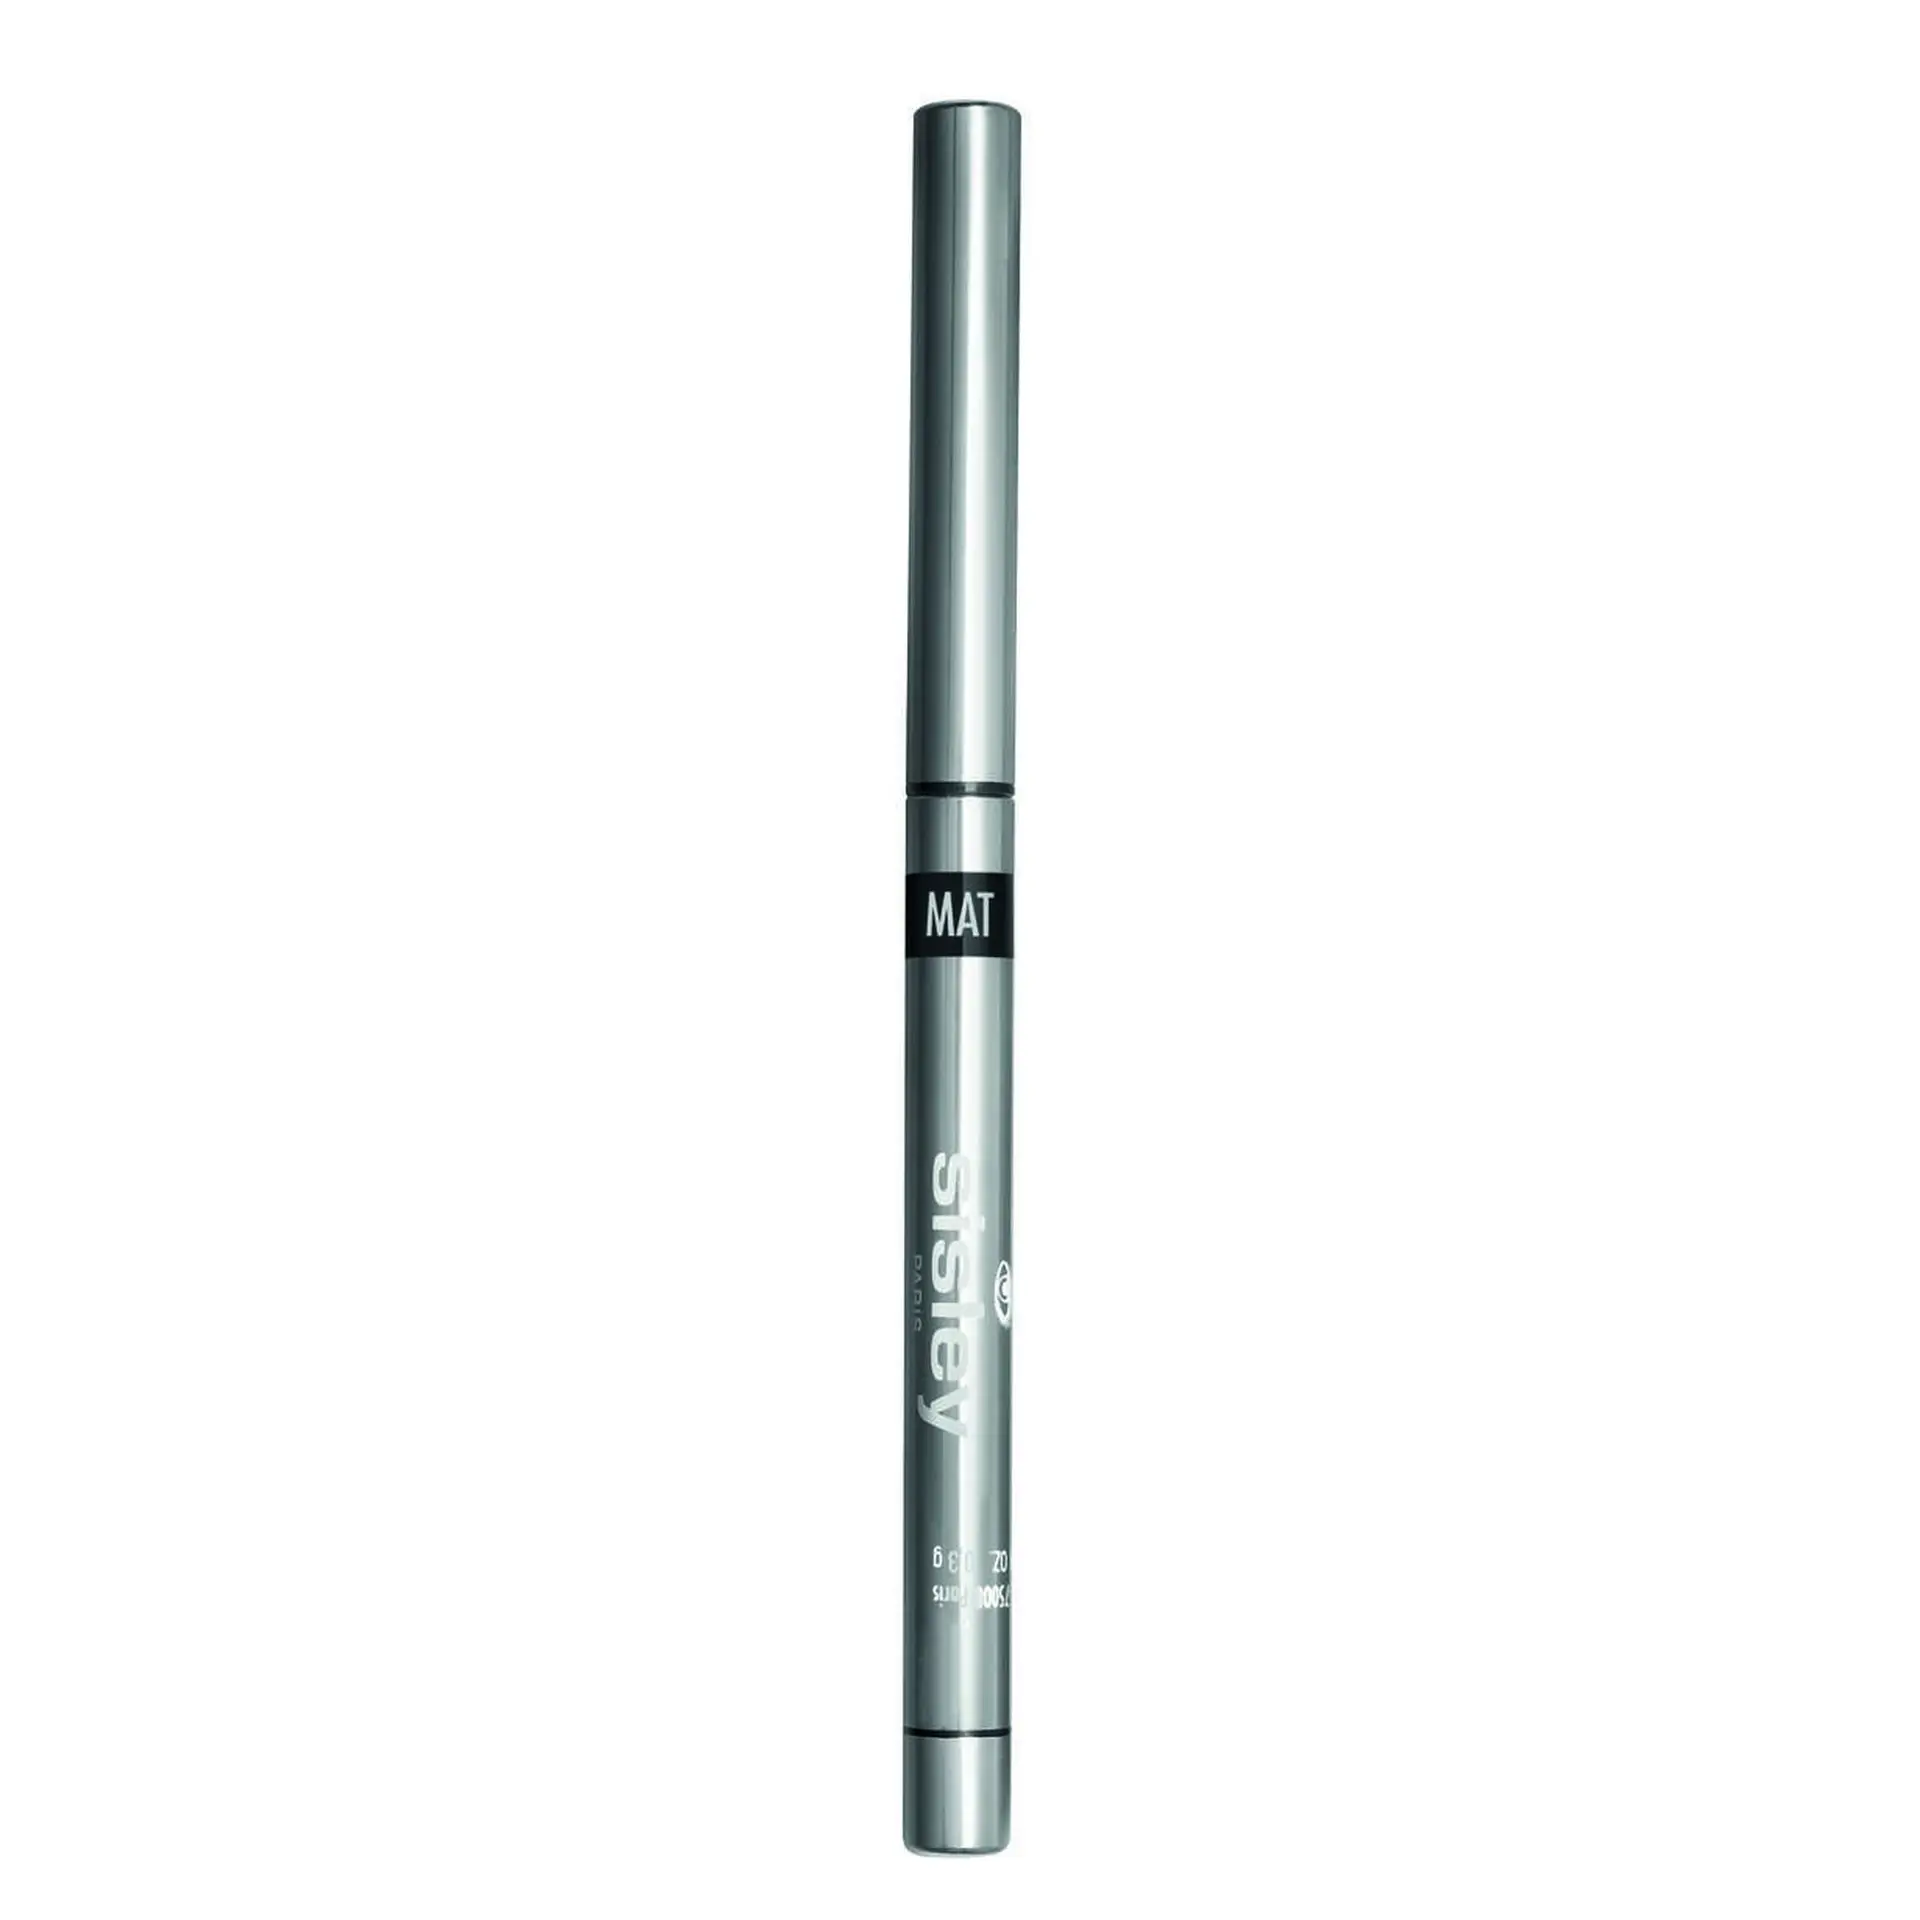
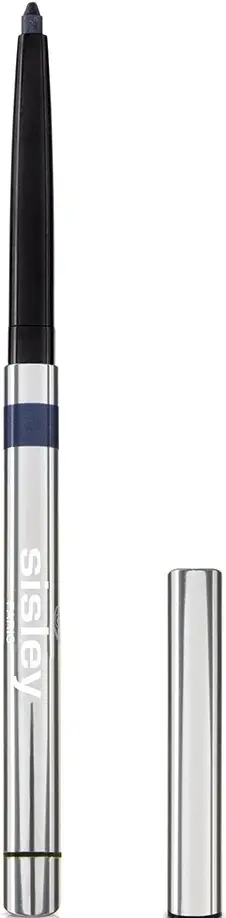
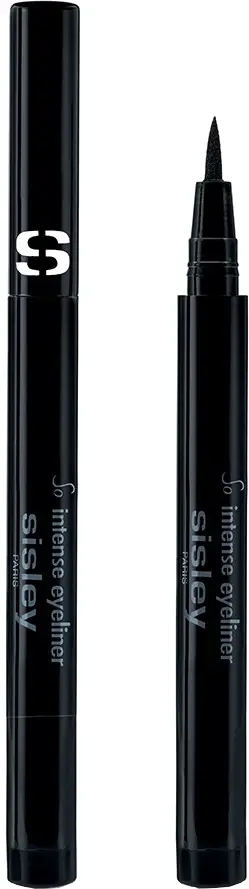
Find out more
Eyeliner textures: which formula for which result
Liquid eyeliner remains the most graphic option, the one that gives the sharp lines you see in beauty campaigns, including those of YSL. Its fluid texture allows a continuous line, but be careful: once it has dried, it is hard to go back. It is the choice of experienced users who have a confident hand. We often recommend starting with a felt-tip pen, which is more forgiving: the firm tip naturally guides the hand, and most modern formulas (such as those from Lancôme) let you go over the line again to intensify it.
Gel changes the game for those who want precision without the pressure of "all or nothing". Clinique and SISLEY offer creamy textures that glide on well and stay workable for a few seconds after application. The advantage? You can blend slightly for a more natural effect, or build up the intensity layer by layer. There is also the pencil turned into a liner: gently warm the lead with a lighter (taking care not to burn it) and draw immediately. It works particularly well with Guerlain pencils.
Adapting your line to your eye shape
One of the most frequent questions is: "What should I do with droopy eyes?" The answer is to forget the rule of a line that always sweeps up towards the temples. For hooded or drooping lids, a thin line that follows the natural line of the eye works best, and above all no wing that is too upturned, which would accentuate the downward effect. The reverse liner, a thin line under the lower lashes, opens up the eye without weighing down the top.
For small eyes, it is the opposite: you can afford a thicker line on the mobile lid, avoiding lining the whole eye (which makes it look smaller). Almond eyes are lucky enough to suit everything, from a thin line to a bold cat-eye. But beware of round eyes: a line that is too thick along the whole length can give a "wide-eyed" effect. It is better to intensify the outer third and thin the line towards the inner corner.
Colour codes by age and occasion
Black remains unbeatable for the evening, but during the day you can be more subtle. Brown gives intensity without hardening the look, and is particularly flattering after 40 when you want to avoid a look that is too defined. Brunettes with light eyes can dare to try navy or plum to bring out the iris. Be careful with bright colours: fun on young skin, they can look like fancy dress on more mature faces.
With age, the skin of the eyelid becomes thinner and sometimes slightly creased. Liquid eyeliner can slip into fine lines, so it is better to opt for gel or felt-tip formulas with more grip. Above all, adapt the thickness: a line that is too thin disappears when the lid relaxes, but one that is too thick swallows the eye. It is a delicate balance. Clarins and SISLEY offer formulas designed especially for mature skin, with textures that grip better and don't migrate.
Application techniques for a precise line
The spoon technique consists of placing the handle against the side of the nose and the curved part on the closed eyelid, then drawing along the edge. This gives you a guide for a well-angled wing. The important thing is to start with small strokes that you then join up, rather than trying to draw the whole line in one go from the inner to the outer corner.
For those who always struggle to get both eyes identical, here is a tip: draw the wings first (the part that sweeps upwards), check that they are symmetrical, then complete the line towards the inner corner. If it goes wrong, it is better to wipe it all off and start again than to try to rescue it: you always end up thickening the line again and again and looking like a raccoon. A bi-phase makeup remover on a cotton bud removes smudges precisely without spoiling the rest of the makeup.
Frequently asked questions
We recommend starting with a felt-tip pen. Its firm tip naturally guides the hand, unlike liquid eyeliner, which can be unforgiving. Modern formulas, such as those from Lancôme, let you go over the line again to intensify it gradually. Once you have mastered the felt-tip, you can move on to gel, which stays workable for a few seconds after application.
It is a classic mistake to sweep the line up towards the temples when you have drooping lids, as it accentuates the downward effect. A thin line that follows the natural line of the eye is a better choice. You can also try the reverse liner, a thin line under the lower lashes that opens up the eye without weighing down the top.
Liquid eyeliner dries quickly and forms a film, which can sometimes crack if the skin moves too much. Make sure the lid is clean and dry before application. If you have oily eyelids, a primer can help. Gel or felt-tip formulas are more forgiving for everyday use.
Absolutely! It is a well-known technique: gently warm the lead with a lighter and draw immediately while the texture is creamy. It works particularly well with Guerlain pencils. You get the ease of application of a pencil with the intensity of a liner.
Yes, but the technique needs adapting. For small eyes, you can afford a thicker line on the mobile lid, which adds depth. However, avoid lining the whole eye, as it makes it look smaller. Focus on the upper lash line to open up the eyes.