
Foundation Brushes: Master the Art of a Flawless Base
Using a foundation brush completely changes the game if you want a clean, natural finish. Fingers often leave marks and warm the product, which can make it shift. A sponge absorbs some of the foundation, reducing coverage. A brush places the product exactly where it is needed, with no waste.
The difference between a good and a bad brush
The truth is, not all brushes are equal. A dense, well-cut brush spreads the product evenly, whereas a low-end one will leave streaks or soak up too much product. Synthetic bristles dominate today: they are more hygienic, longer-lasting and ideal for liquid formulas. Natural-hair brushes, although luxurious, tend to soak up more product and need more upkeep. Taklon fibres, for example, stay soft even after several washes and keep their original shape.
The secret lies in shape and density. A flat, dense brush suits a fluid foundation, an angled model works the contours of the face, and a kabuki brush suits pressed powders. Each texture has its tool: the choice of brush matters a great deal in the final result. The other half is technique. The golden rule? Always start at the centre of the face and blend outwards in small circular motions. For delicate areas such as the eye contour, a smaller, softer brush is preferable.
Whether you are looking for your first proper brush or want to upgrade your collection, this selection brings together the best of the leading brands. It is a way to transform your base routine and achieve that professional finish you see in magazines. A good brush lasts for years if properly cared for, and instantly improves the finish of all your foundations, even the most basic ones.
Our Foundation Products
3 products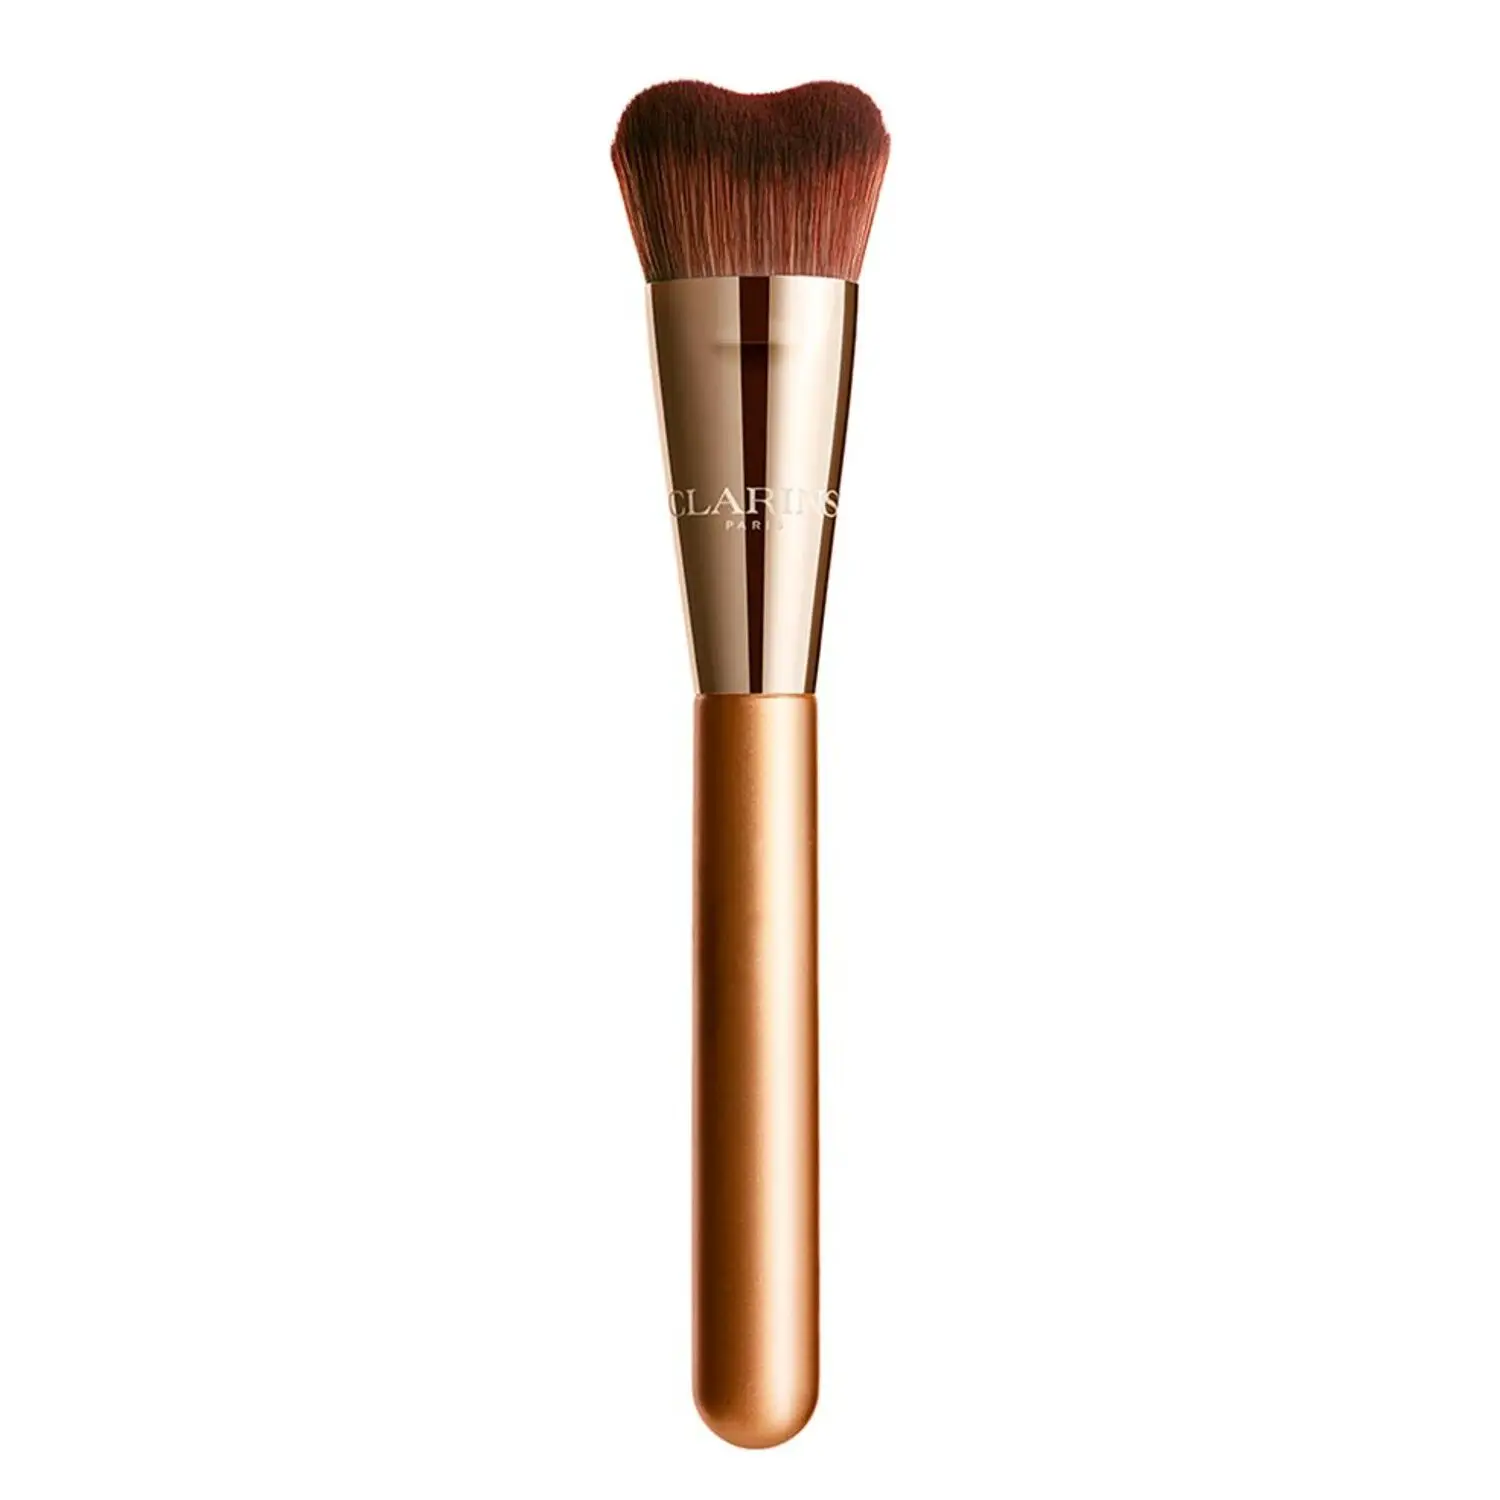
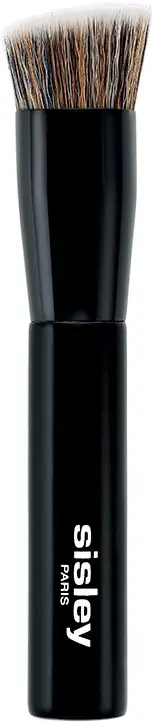
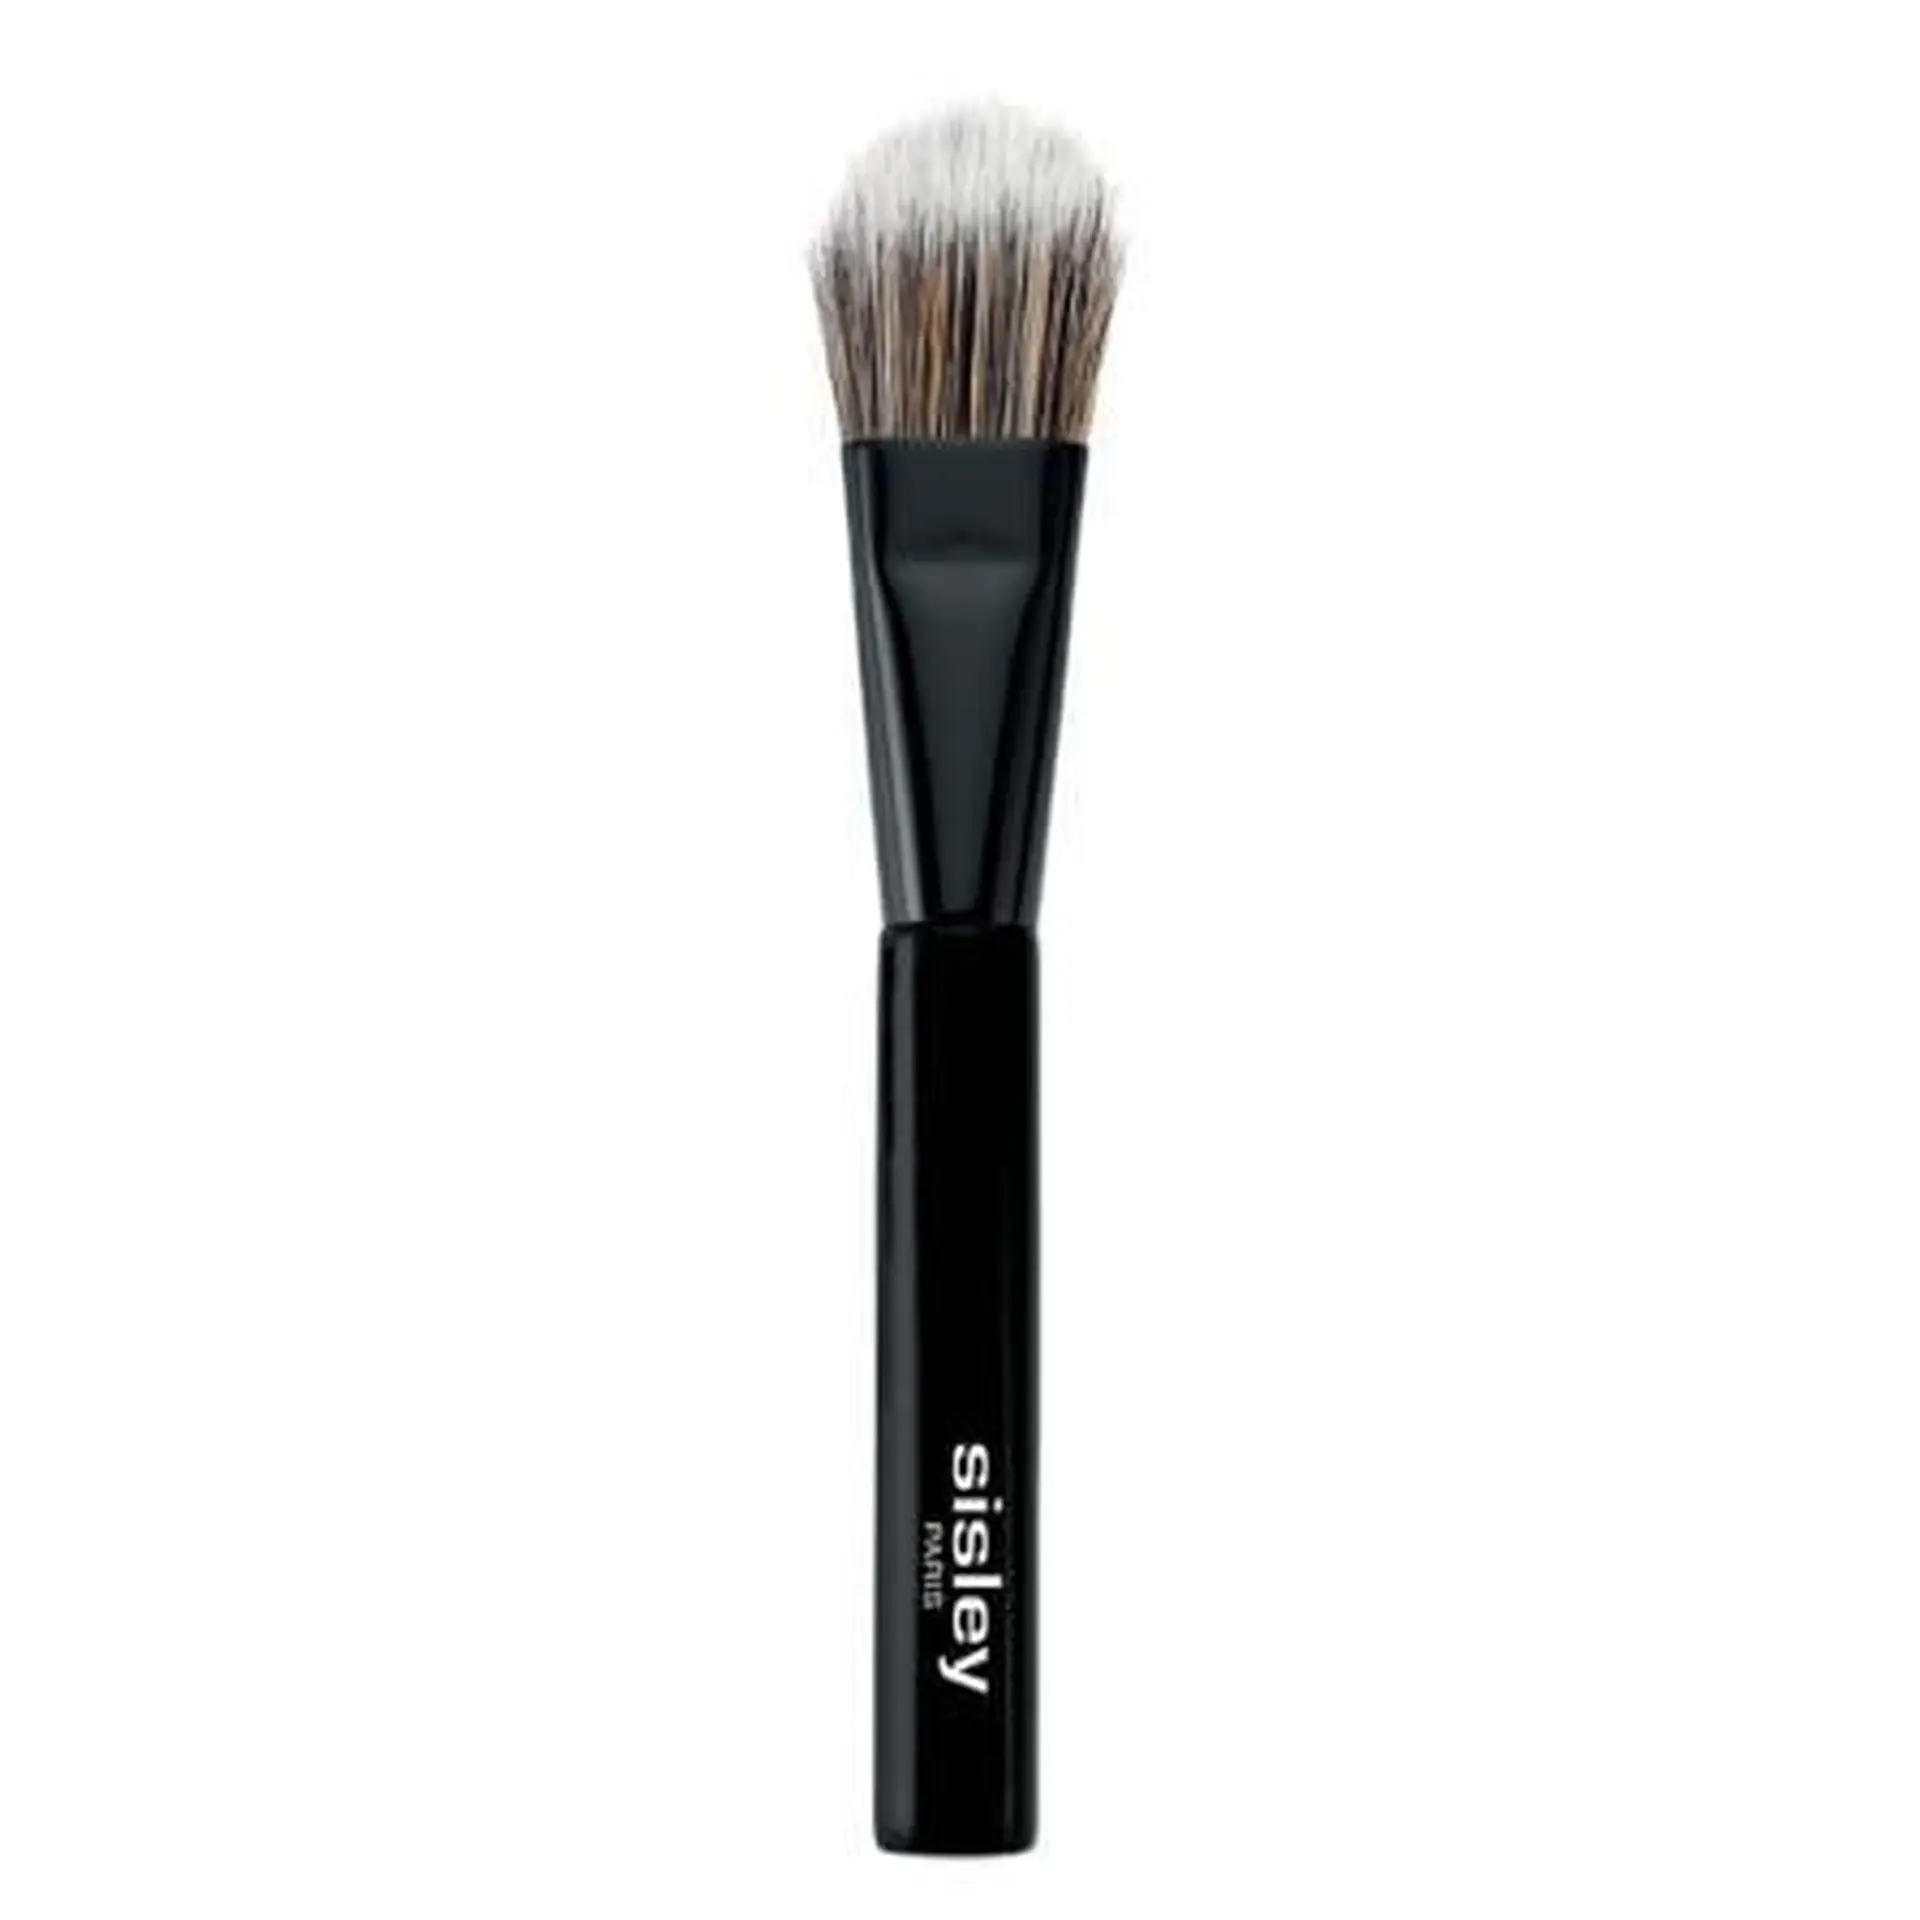
Find out more
Shapes and sizes: which brush for which result
The classic flat brush remains the reference tool for fluid foundations and BB creams. Its wide surface spreads the product quickly over the cheeks and forehead, while its finer tip works around the eyes and nostrils. This type of brush is often recommended to beginners because it is forgiving: it is hard to leave streaks with a dense brush. Soft bristles in this category help avoid the heavy, mask-like finish everyone dreads.
At the other end of the scale, angled brushes take more skill but give a more sculpted result. Their asymmetrical shape follows the natural curves of the face: the edge defines the cheekbone, the flat side blends towards the temples. This shape allows natural contouring in a single step, with no need for extra products. Lancôme and Sisley offer particularly well-balanced versions in this family.
Synthetic or natural bristles: the ultimate showdown
The contest between synthetic and natural bristles is largely won by synthetics, especially for the complexion. Synthetic fibres do not absorb the product as natural hair does, so less foundation is wasted and the finish is more even. On hygiene, there is no contest: synthetic bristles are easier to clean and dry faster.
Natural bristles still have their place for loose powders and certain contouring techniques. Their absorbency can be an advantage when you want a very natural, powdery finish. But in most cases, a good synthetic brush from Clinique or Yves Saint Laurent will do the job perfectly well. The difference comes down to the quality of the cut and the density of the fibres rather than their origin.
Application techniques that change everything
Applying foundation with a brush is not something to improvise. The classic technique is to dot the product onto the forehead, cheeks, nose and chin, then blend in circular motions from the inside of the face outwards. This method gives even distribution and avoids lines at the jawline. The key is to build up gradually: two light layers are better than one thick, failed layer.
For skin with blemishes, stippling works better than blending. Gently press the brush onto the areas to be covered, without spreading, to build coverage bit by bit. This approach takes more patience but avoids shifting concealer that is already in place. Guerlain's dense brushes are particularly suited to this technique, as their tightly packed fibres allow precise control of the product applied.
How to choose for your skin type
Oily skin benefits from brushes with short, dense fibres, which work the foundation into the skin without leaving it sitting on the surface. Mattifying formulas work especially well with this type of tool, which helps create a stable base on shiny areas.
Dry skin, on the other hand, does better with longer, softer fibres, which deposit foundation without pulling on the skin or emphasising dehydration lines. In this case it is often advised to dampen the brush slightly before use, a professional trick that improves the glide of the product and gives a more natural finish. Mature skin benefits from medium-sized brushes that allow you to work area by area, taking time to blend carefully around expression lines.
Frequently asked questions
The classic flat brush is ideal for beginners because its dense bristles are forgiving. Its wide surface spreads the product quickly over the cheeks and forehead, while its tip works delicate areas. The angled brush takes more technique but gives a more sophisticated result. Its asymmetrical shape follows the curves of the face and even allows natural contouring in a single step.
A brush places the product exactly where it is needed, with no waste. Fingers often leave marks and warm the product, which can make it shift on the skin. A sponge absorbs some of the foundation, reducing coverage. Overall, a brush gives a smoother, more even finish than other application methods.
For the complexion, synthetic bristles are far superior. They do not absorb the product as natural bristles do, which avoids waste and gives a more even finish. On hygiene, there is no contest: they are easier to clean and dry faster. Natural bristles are mainly useful for loose powders and certain specific techniques.
A dense, good-quality brush is naturally forgiving. The key is to work in areas: start by spreading the product over larger areas with the flat of the brush, then use the tip for delicate contours such as around the eyes and nostrils. The softness of the fibres helps avoid a heavy, mask-like finish.
Yes, especially a well-mastered angled brush. Its asymmetrical shape follows the natural curves of the face: the edge defines the cheekbone while the flat side blends towards the temples. This gives natural contouring in a single step, with no need for extra products or tools to sculpt the face.